It was a sad day when I finally ran out of breast milk that I'd saved up for Levi. He was on breast milk until about ten months old. My eczema was always mild in the past, but when I started breastfeeding, it seemed to become worse, then progressed to terrible. I got a bad skin infection, because eczema makes your skin more susceptible to them. That's when I called it quits. Hopefully I don't have the same problem with future babies! I know that it's hard for us women when we can't feed our babies the natural way, and there are so many reasons why we have to switch to formula. The eczema got much better when I quit breast feeding by the way. It was difficult to find much information about this online, but I was told it is related to hormonal changes.
The thing I really didn't like about the powdered formulas was that it is nearly impossible to find one in the US that doesn't contain soy oil. If you know me, you know I don't like soy. Read up about soy's negative side effects
here. There are some (expensive) brands of formula that you can have shipped from Australia and other countries that don't have soy, but I wasn't willing to dish out that kind of money. I put him on an organic Wal-mart brand for about one month. I didn't know it, but formula smells bad! I must say: I don't believe that you are hurting your baby if you give him/her a commercial formula. It's just a personal choice that I try to avoid soy.
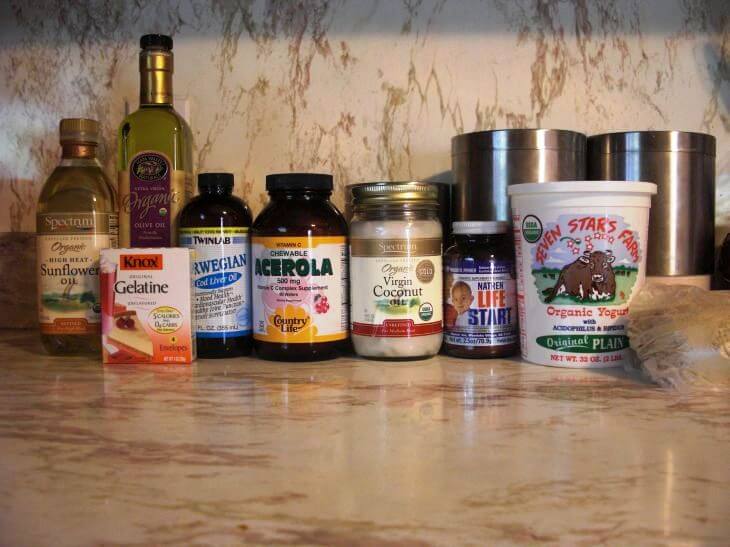
While researching formulas, I discovered that you can
make your own...without soy! Wonderful! It took me a while to accumulate all the ingredients. It is a little pricey to obtain everything you need at first, but once you have the expensive ingredients, they will last a while. I went through vitacost.com to get the bifidobacterium infantis, cod liver oil, and acerola powder, because they had the best prices on those items (you can save $10 on your first order using this
link). I went through radiantlife.com to buy the
lactose, because I couldn't find it anywhere else. I got the rest of the ingredients at Whole Foods.
Raw Milk Baby Formula:
Ingredients
- 2 cups whole raw cow's milk, preferably from pasture-fed cows
- 1/4 cup homemade liquid whey (See recipe for whey, below) Note: Do NOT use powdered whey or whey from making cheese (which will cause the formula to curdle). Use only homemade whey made from yoghurt, kefir or separated raw milk.
- 4 tablespoons lactose1
- 1/4 teaspoon bifidobacterium infantis2
- 2 or more tablespoons good quality cream (preferably not ultrapasteurized), more if you are using milk from Holstein cows
- 1/2 teaspoon unflavored high-vitamin or high-vitamin fermented cod liver oil or 1 teaspoon regular cod liver oil3
- 1/4 teaspoon high-vitamin butter oil (optional)1
- 1 teaspoon expeller-expressed sunflower oil1
- 1 teaspoon extra virgin olive oil1
- 2 teaspoons coconut oil1
- 2 teaspoons Frontier brand nutritional yeast flakes1
- 2 teaspoons gelatin1
- 1-7/8 cups filtered water
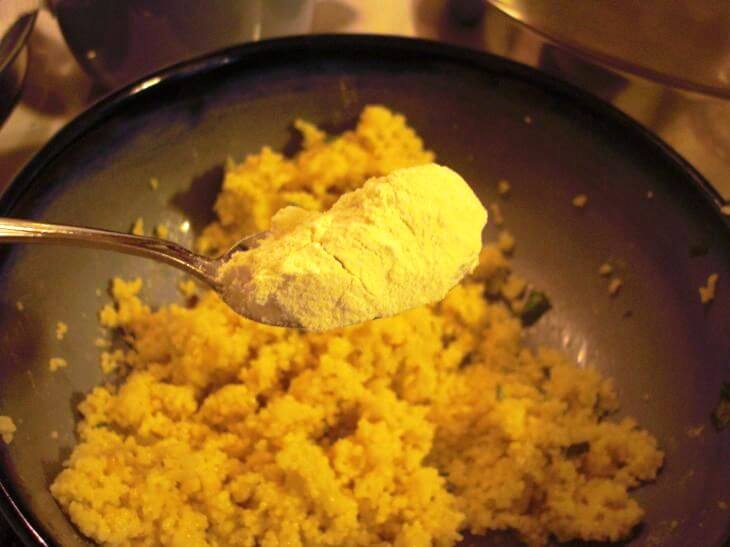
- 1/4 teaspoon acerola powder1, 2
Instructions
- Put 2 cups filtered water into a pyrex measuring pitcher and remove 2 tablespoons (that will give you 1-7/8 cups water).
- Pour about half of the water into a pan and place on a medium flame.
- Add the gelatin and lactose to the pan and let dissolve, stirring occasionally.
- When the gelatin and lactose are dissolved, remove from heat and add the remaining water to cool the mixture.
- Stir in the coconut oil and optional high-vitamin butter oil and stir until melted.
- Meanwhile, place remaining ingredients into a blender.
- Add the water mixture and blend about three seconds.
- Place in glass bottles or a glass jar and refrigerate.
- Before giving to baby, warm bottles by placing in hot water or a bottle warmer. NEVER warm bottles in a microwave oven.
"Our milk-based formula takes account of the fact that human milk is richer in whey, lactose, vitamin C, niacin, and long-chain polyunsaturated fatty acids compared to cow's milk but leaner in casein (milk protein). The addition of gelatin to cow's milk formula will make it more digestible for the infant. Use only truly expeller-expressed oils in the formula recipes, otherwise they may lack vitamin E.
The ideal milk for baby, if he cannot be breastfed, is clean, whole raw milk from old-fashioned cows, certified free of disease, that feed on green pasture. For sources of good quality milk, see
www.realmilk.com
or contact a local chapter of the Weston A. Price Foundation.
If the only choice available to you is commercial milk, choose whole milk, preferably organic and unhomogenized, and culture it with a piima or kefir culture to restore enzymes (available from G.E.M. Cultures 253-588-2922 or
http://www.gemcultures.com
).
1. Available from Radiant Life 888-593-8333,
www.radiantlifecatalog.com
.
2. Earlier versions of this web page called for 1 tsp of bifidobacterium infantis and 1 tsp of acerola powder--these were typos.
3. Use only recommended brands of cod liver oil.
See our recommendations here
."
I got this recipe from westonaprice.org.
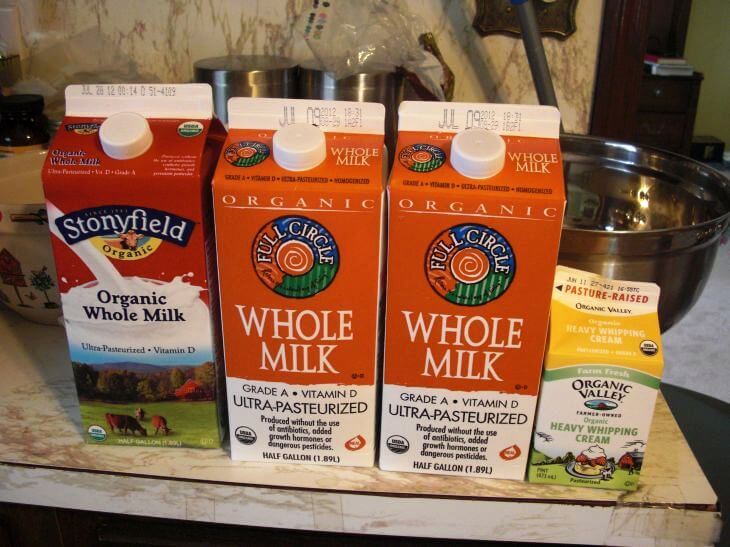
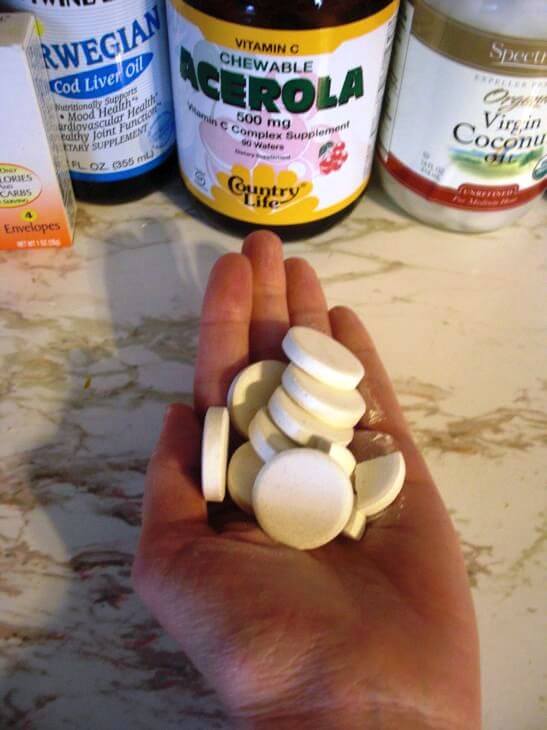
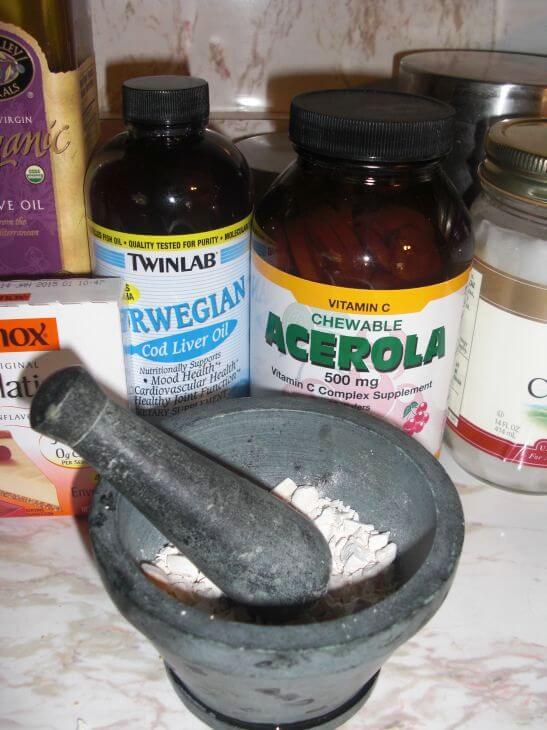
I actually didn't use raw milk, and just used organic whole milk instead. I also did not incorporate the optional butter oil, and the only acerola powder I could find was a bottle of chewable tablets. I just crushed them.
The recipe says that it makes thirty-six ounces. Levi drinks about that much in one day (30-34 ounces), so I made nine times that amount. Another reason why I determined that I should make that much was because the thirty-two ounce yogurt I used produced 2 1/4 cups of whey. The recipe only called for 1/4 cup, so divided 2 1/4 by 1/4, which meant I had to multiply every other ingredient by nine! Don't try this unless you have some BIG bowls. I underestimated how much formula this would actually make.
Homemade Whey
Makes about 5 cups.
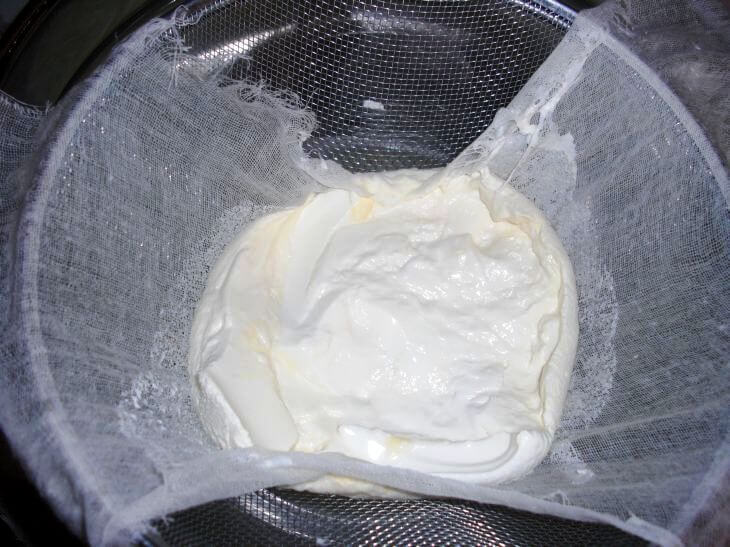
Homemade whey is easy to make from good quality plain yoghurt, or from raw or cultured milk. You will need a large strainer that rests over a bowl.
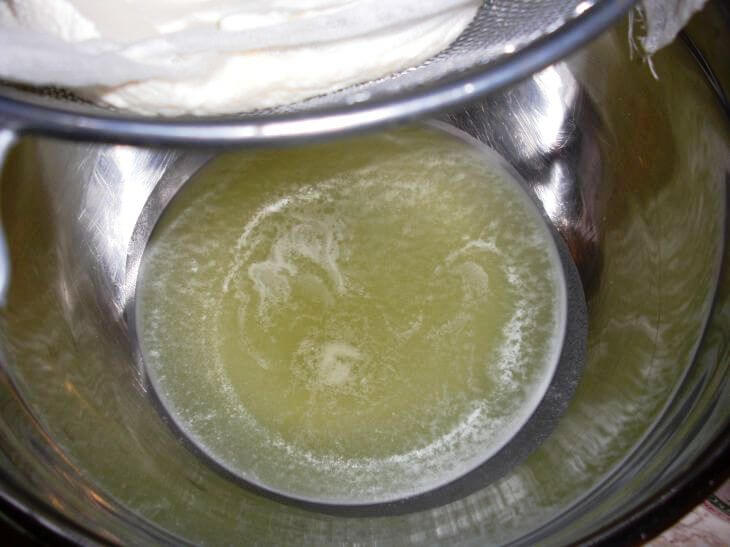
If you are using yoghurt, place 2 quarts in a strainer lined with a tea towel set over a bowl. Cover with a plate and leave at room temperature overnight. The whey will drip out into the bowl. Place whey in clean glass jars and store in the refrigerator.
If you are using raw or cultured milk, place 2 quarts of the milk in a glass container and leave at room temperature for 2-4 days until the milk separates into curds and whey. Pour into the strainer lined with a tea towel set over a bowl and cover with a plate. Leave at room temperature overnight. The whey will drip out into the bowl. Store in clean glass jars in the refrigerator.
Source: Nourishing Traditions by Sally Fallon with Mary G. Enig, PhD.
First, I made the whey using the recipe (from westonaprice.org) above. Making whey has always intimidated me, but it was so easy!
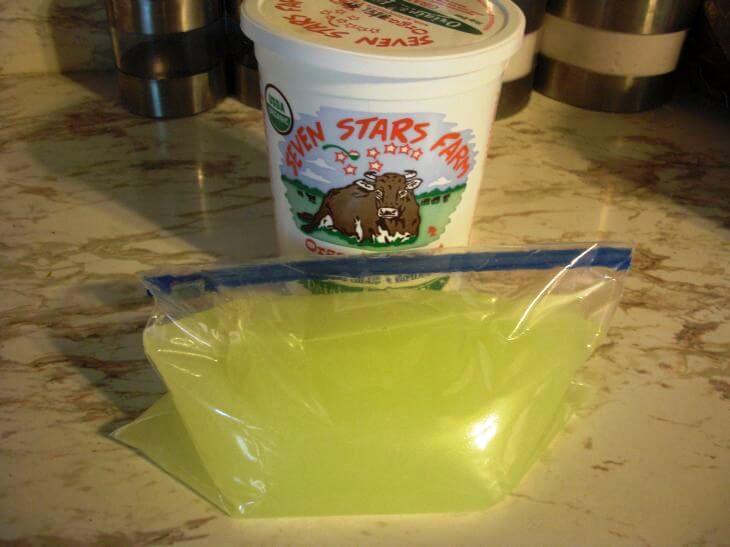
32 ounces of yogurt yielded 2 1/4 cups of whey
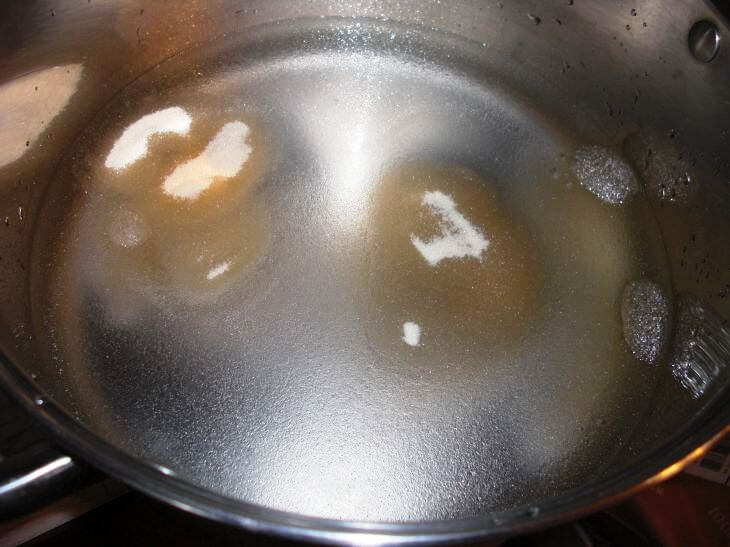
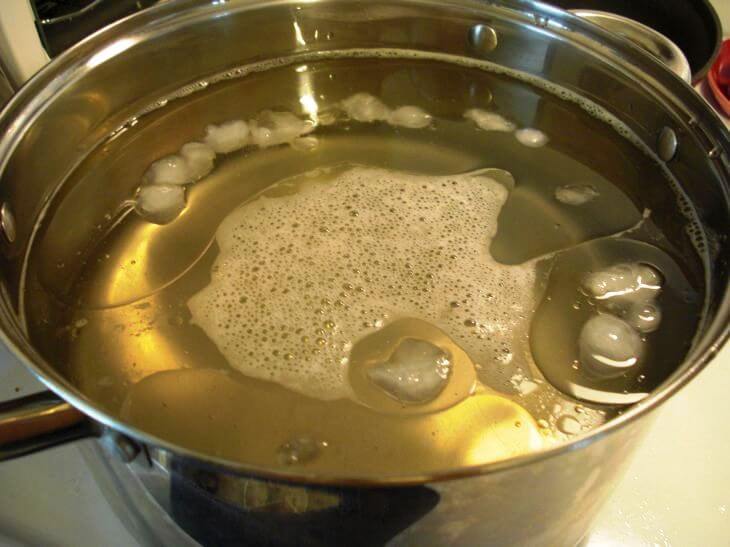
waiting for gelatin and lactose to dissolve
1.) Put 2 cups filtered water into a pyrex measuring pitcher and remove 2 tablespoons (that will give you 1-7/8 cups water).
2.) Pour about half of the water into a pan and place on a medium flame.
3.) Add the gelatin and lactose to the pan and let dissolve, stirring occasionally.
4.) When the gelatin and lactose are dissolved, remove from heat and add the remaining water to cool the mixture.
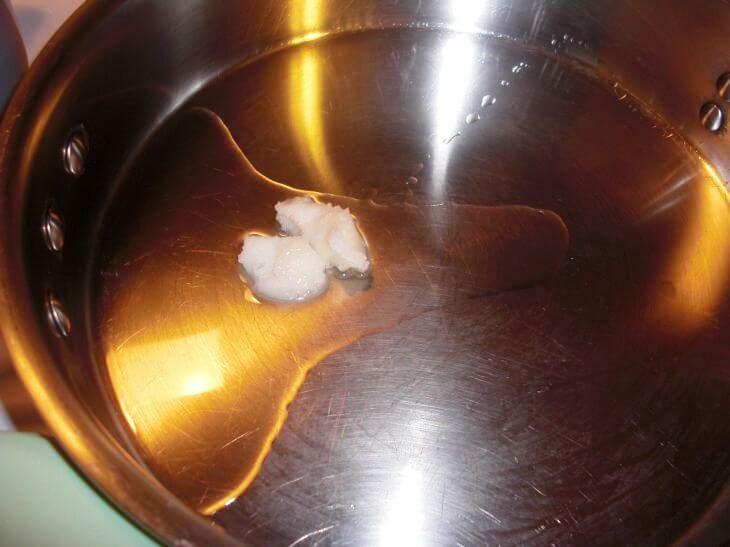
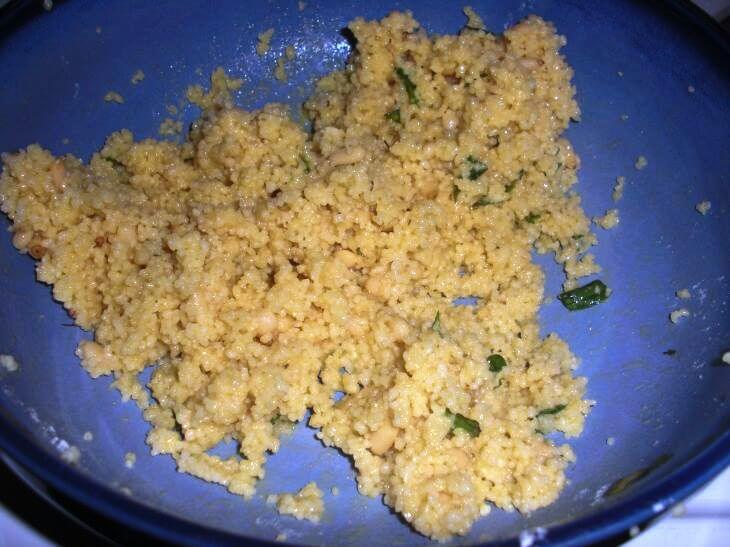
after adding the coconut oil...it melts quickly
5.) Stir in the coconut oil and optional high-vitamin butter oil and stir until melted.
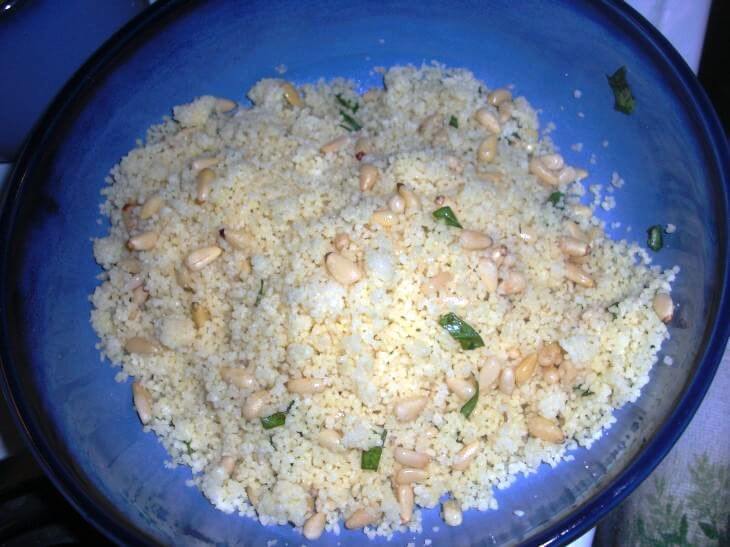
6.) Meanwhile, place remaining ingredients into a blender.
7.) Add the water mixture and blend about three seconds.
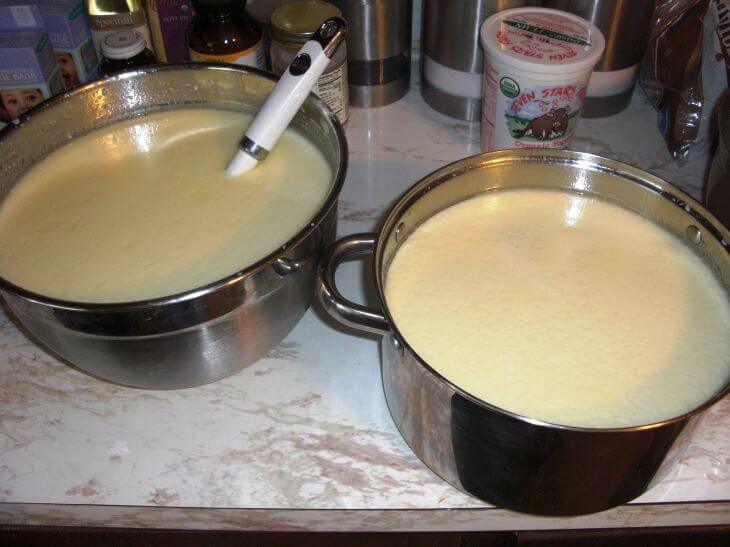
Now I need to somehow combine these two big bowls. Hmm...
I used a third big bowl and married them until they were well combined.
8.) Place in glass bottles or a glass jar and refrigerate.
9.) Before giving to baby, warm bottles by placing in hot water or a bottle warmer. NEVER warm bottles in a microwave oven.
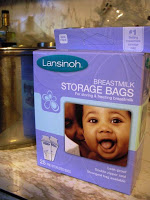
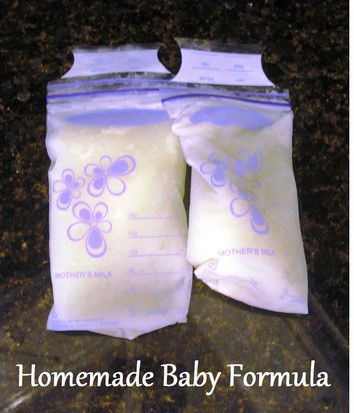
Making that much formula at once took a while! The part that took the longest was bagging it up. (I didn't want to store it in glass, because I froze it.) If you have ever stored breast milk, you know that it's important to get all the air out before freezing it. Imagine doing this forty-eight times! That's how many bags it made (about 310 ounces of formula!). We definitely had enough to last while we were travelling over the weekend plus some!!
If Levi was younger, I would have thought about making the liver based formula, because most babies aren't ready for that much cow's milk at first (so I've heard). I felt pretty good about giving him cow's milk formula, because he is almost a year old. I'm kind of glad I didn't have to mess with liver!
The best parts about making this formula are:
knowing that my baby LOVES it
knowing that he's drinking something closely comparable to breast milk (see below)
feeling a sense of fulfillment in taking care of him by taking the time to make this :)
|
|
36
|
Ounces
|
|
|
Ingredient
|
Quantity
|
Unit of Measure
|
Price
|
|
Raw Milk
|
2
|
Cup
|
$1.38
|
|
Liquid Whey
|
1/4
|
Cup
|
$0.28
|
|
Lactose
|
4
|
Tablespoon
|
$0.35
|
|
Bifodobacterium Infantis
|
1/4
|
Teaspoon
|
$0.48
|
|
Cream
|
2
|
Tablespoon
|
$0.09
|
|
Regular Cod Liver Oil
|
1
|
Teaspoon
|
$0.11
|
|
High Vitamin Butter Oil
|
1/4
|
Teaspoon
|
$0.31
|
|
Sunflower Oil
|
1
|
Teaspoon
|
$0.03
|
|
Extra Virgin Olive Oil
|
1
|
Teaspoon
|
$0.06
|
|
Coconut Oil
|
2
|
Teaspoon
|
$0.13
|
|
Nutritional Yeast Flakes
|
2
|
Teaspoon
|
$0.08
|
|
Gelatin
|
2
|
Teaspoon
|
$0.20
|
|
Filtered Water
|
1-7/8
|
Cup
|
$0.00
|
|
Acerola Powder
|
1/4
|
Teaspoon
|
$0.06
|
|
|
|
Batch Total
|
$3.54
|
The price really isn't bad compared to commercial formulas!
Breast Milk & Homemade Formula Nutrient Comparison Chart
Based on 36 ounces.
These nutrient comparison tables were derived from standard food nutrient tables and do not take into account the wide variation in nutrient levels that can occur in both human and animal milk, depending on diet and environment.
|
|
Breast Milk |
Cow's Milk
Formula |
Goat Milk
Formula |
Liver-Based
Formula |
| Calories |
766 |
856 |
890 |
682 |
| Protein |
11.3g |
18g |
18g |
15g |
| Carbohydrates |
76g |
79g |
77g |
69g |
| Total Fat |
48g |
52g |
54g |
36g |
| Saturated Fat |
22g |
28g |
30g |
16g |
| Mono Fat |
18g |
16g |
16g |
12g |
| Poly Fat |
5.5g |
5.6g |
5.7g |
5.6g |
| Omega-3 FA |
.58g |
1.3g |
1.2g |
1.0g |
| Omega-6 FA |
4.4g |
4.2g |
4.4g |
4.5g |
| Cholesterol |
153mg |
137mg |
166mg |
227mg |
| Vitamin A* |
946IU |
5000IU |
5000IU |
20,000IU |
| Thiamin-B1 |
.15mg |
1.05mg |
1.1mg |
.19mg |
| Riboflavin-B2 |
.4mg |
1.2mg |
1.2mg |
1.9mg |
| Niacin-B3 |
1.9mg |
2.5mg |
4.4mg |
14.2mg |
| Vitamin B6 |
.12mg |
.51mg |
.60mg |
.65mg |
| Vitamin B12 |
.5mcg |
1.9mcg |
2.8mcg |
39mcg |
| Folate |
57mcg |
236mcg |
284mcg |
159mcg |
| Vitamin C |
55mg |
57mg |
59mg |
62mg |
| Vitamin D |
480IU |
450IU |
525IU |
460IU |
| Vitamin E*** |
9.9mg |
6.2mg |
4.7mg |
4.9mg |
| Calcium |
355mg |
532mg |
548mg |
NA** |
| Copper |
.57mg |
.38mg |
.58mg |
1.9mg |
| Iron |
.33mg |
1.4mg |
2.2mg |
5.4mg |
| Magnesium |
37.4mg |
91.3mg |
96.1mg |
34.5mg |
| Manganese |
.29mg |
.034mg |
.12mg |
.24mg |
| Phosphorus |
151mg |
616mg |
729mg |
344mg |
| Potassium |
560mg |
949mg |
1228mg |
750mg |
| Selenium |
18.8mcg |
15.4mcg |
18.7mcg |
31.1mcg |
| Sodium |
186mg |
308mg |
320mg |
NA** |
| Zinc |
1.9mg |
2.8mg |
2.7mg |
2.5mg |
* Vitamin A levels in human milk will depend on the diet of the mother. Nursing mothers eating vitamin A-rich foods such as cod liver oil will have much higher levels of vitamin A in their milk. Commercial formulas contain about 2400 IU vitamin A per 800 calories.
** Calcium and sodium values for homemade broth are not available.
*** Vitamin E values are derived from commercial vegetable oils. The vitamin E levels for homemade formulas will be higher if good quality, expeller-expressed oils are used.
Please visit
westonaprice.org
to learn more.


.JPG)
.JPG)
.JPG)
.JPG)


.JPG)


.JPG)