
I want to share our bathroom remodel today. It was my least favorite room before, and now it looks much better and actually stylistically fits into this decade.
BEFORE pictures below
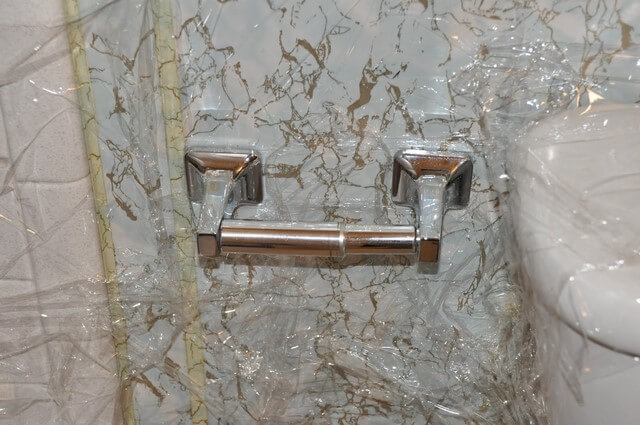
I can't believe I only got a handful of "before" pictures! It was bad in there. Trust me. Do you see in the picture below that if someone was on that toilet, their legs would pretty much touch the vanity to the left? "A little cramped" is an understatement.

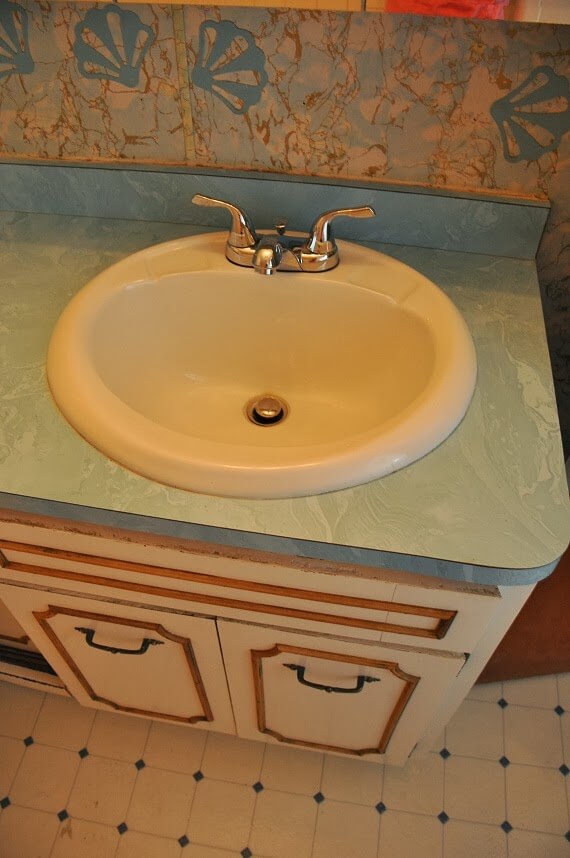
Like those sea shells? They adorned much of the wall under the mirror above the sink.
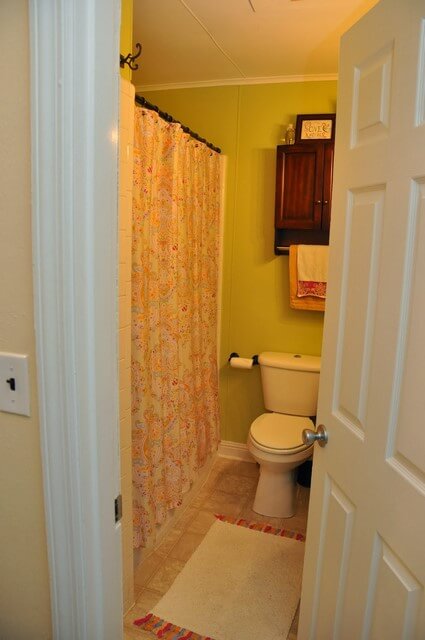
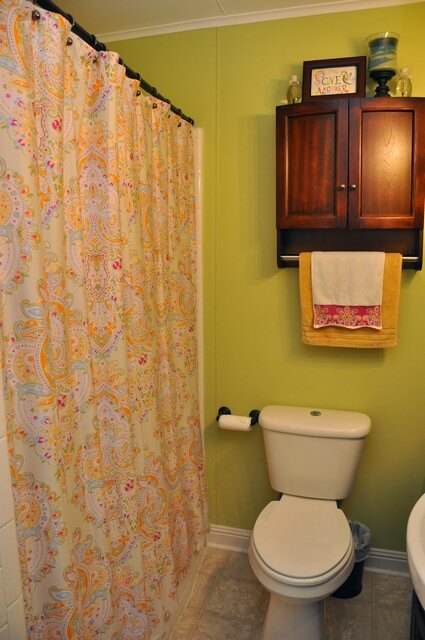
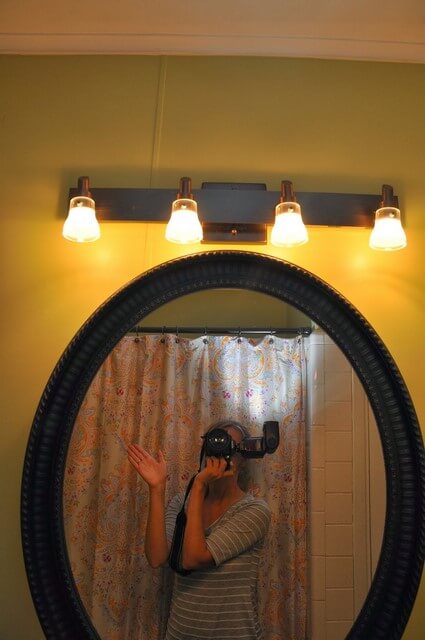
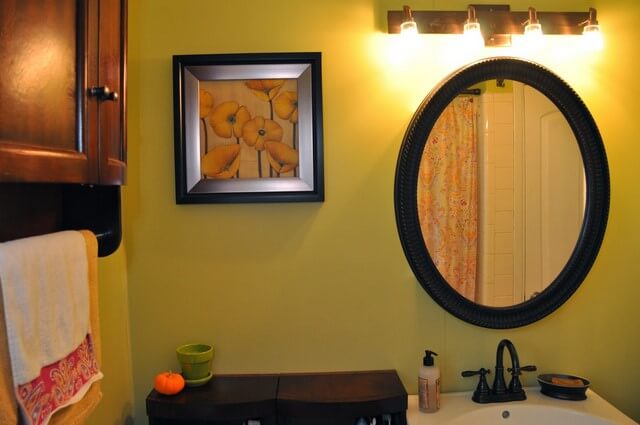
AFTER pictures below
You may notice these changes:
new wall color
new vinyl floor
added baseboards (They were plastic before.)
new towel hook, curtain rod, shower curtain (...which took me a decade to pick out. Who knew curtain shopping was such serious business?), toilet paper holder, shelf above toilet, vanity lighting, medicine cabinet mirror above sink, vanity, faucet, linen towers, doors and knobs, tub and shower faucets (not pictured), and various decorations
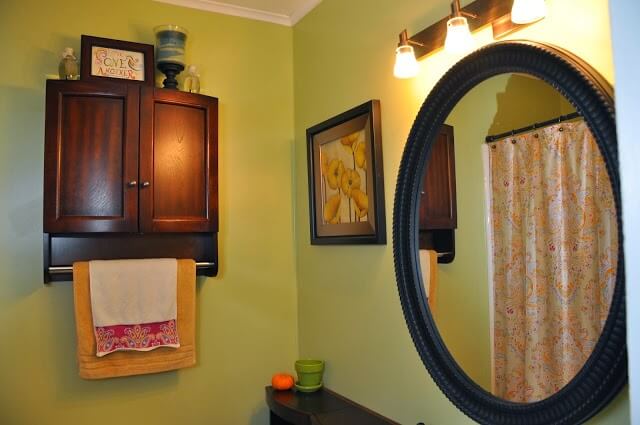
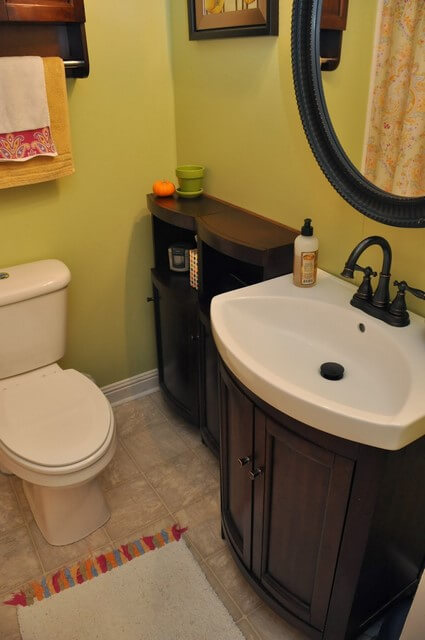
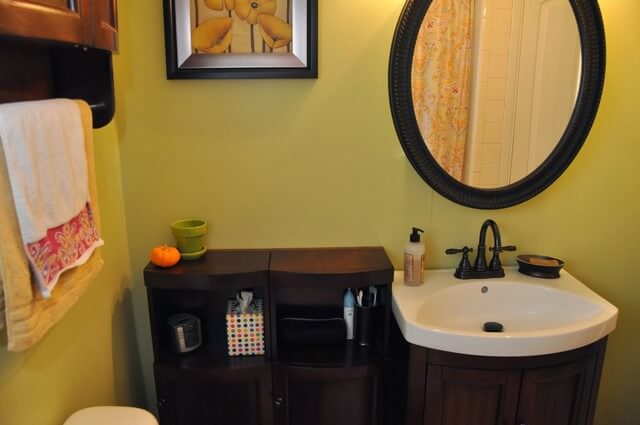
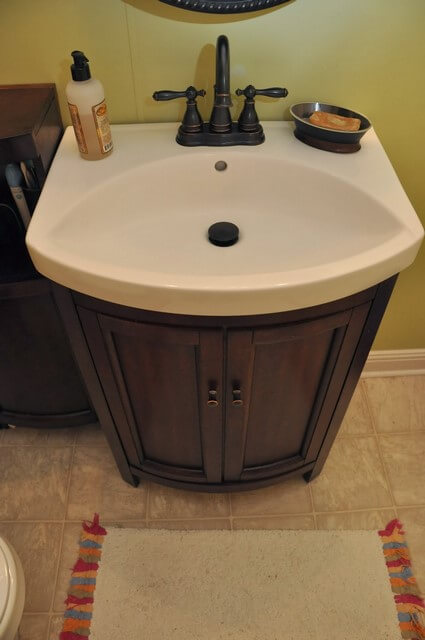
So, although our one bathroom house has this tiny, little bathroom, we now have ample storage thanks to all of our cabinet additions. I am grateful for the updates in this room. It makes up for the fact that we constantly have small toddler toilets and toys scattered about.
I will keep posting our home updates room by room. The kitchen needs a few small adjustments, then it'll be ready. It's a big change.
Much better use of space. Love the dark woods too. Now start to design that home you want to build (maybe with three baths). Believe it. You will acheive it. That's how I did it.
ReplyThanks! Looking forward to three bathrooms maybe someday :)
Nice! Great improvement!
ReplyThank you!
Looks beautiful! How did you prepare the walls to be painted, and what type of paint did you use? Have you had problems with the paint ....either by scratching off, or issues with the heat or humidity of the shower? Do you have any recommendations for a newbie remodeler that has the exact same walls? :)
ReplyThank you, Pasha!! Those are good questions. Formica is difficult to cover sometimes. I thought we were the only ones in the world with Formica bathroom walls :)
ReplyYou can use a bonding primer first. We did two coats of that, then used a regular, eggshell paint on top. We have had zero issues so far with scratching, heat, or humidity. It's been perfect! Good luck! I would love to see pictures! Oh, and I recommend using mineral spirits to clean the walls very well before using the primer.