
I tried to make this project as simple as possible, but still structurally sound, inexpensive, and eye-catching. I'm going to explain how you can make one, too!
It only cost me $185.00 to make my table. Including the storage bins, it was a grand total of $227. Not only that, but you do not need to use a hammer or nails. It may not even cost you this much to make the table, because you may have some of the needed items on hand already, and you may be able to find items at better prices than I did. For instance, I know that you are able to buy the storage bins online for less than I bought them for at Home Depot.
What you will need:
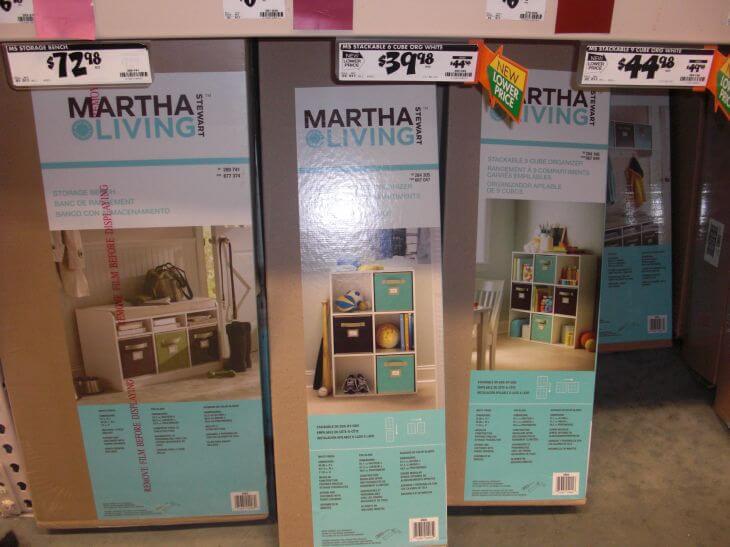
2 Martha Stewart 9 cube shelves from Home Depot
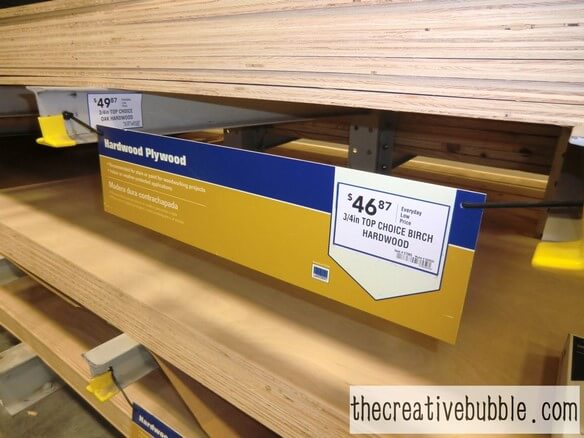
1 LG piece of pre-sanded 3/4in plywood cut into 3 pieces:
-3ft 1/2in x 2.5in
-3ft 1/2in x 2.5in
-63in x 39in
3 pieces of trim for edges of the table (You can choose a design you like at Lowe's or Home Depot, and this is actually optional.)
Velcro strips-to connect the table top to the cube shelves-optional
Gorilla wood glue
wood stain (for the desk top and trim)
white semi-gloss paint (for the trim between the shelves)
Tung oil sealer
Miter saw or hand saw (This is to angle the trim edges so they fit together correctly.)
2-4 Clamps (You will be using these to clamp onto the trim and the white boards between the cube shelves after you put the glue on while they are drying.)
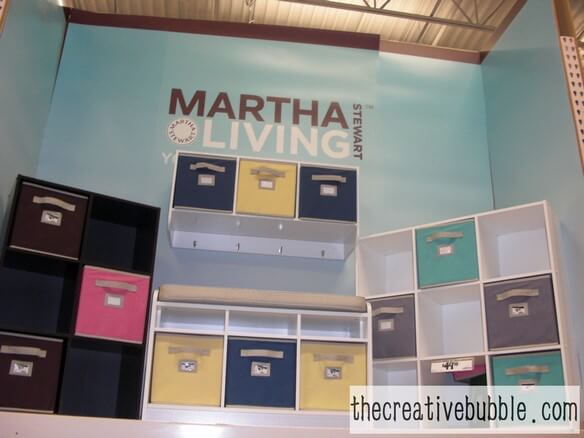
Martha Stewart Cube Storage Bins (optional-I used 8 of them.)
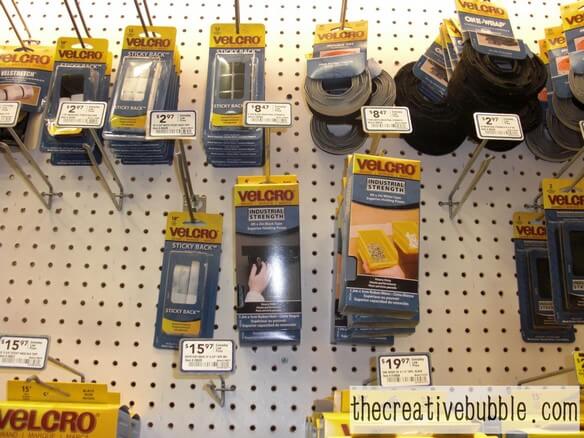
Below are pictures of some of the items I used.

Here is a run down on the cost of each item:
-2 cube shelves $44.98
-wood $46.87 plus price for cuts ($.25 a cut-3 cuts)
-wood trim x2 $3-$10 (depending on trim chosen-Mine were close to $4 each.)
-Velcro $8.47
-Gorilla wood glue $3.99
-wood stain $5-$15 (depending on amount and brand)
-white semi-gloss paint $5-$10 (for a small pint or sample)
-Tung oil $8-$20 (depending on amount and brand)
-We had a saw to use, and I imagine most of you do, too, but if not, I believe Home Depot or Lowe's can cut the trim, so that it will fit together correctly.
-We also already had the clamps to use, so I am not sure how much these cost. You may even be able to find a way around using them.
-cube storage bins $6-7 each at Home Depot
By the way, I am not getting paid to keep mentioning Home Depot and Lowe's! :)
Project Table Method:
-Once you have gathered all your materials, you can begin by putting the cube shelves together.
-Cut your trim so that it fits along the edges of your table, and be sure to angle the corners so that they all match up. See below:
.JPG)
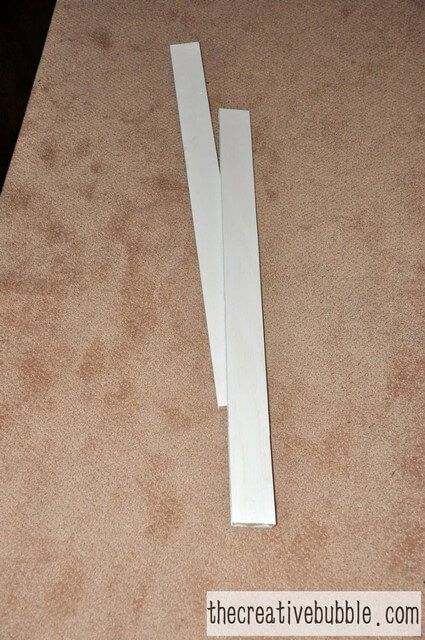
-Paint the two small wood pieces that will go between the cube shelves with the white paint.
-Use Gorilla wood glue to attach the trim to the table top. Use clamps to hold the wood in place while it dries.(The edges I chose ended up fitting perfectly along the 3/4in plywood, but they were not straight. The wood glue wouldn't work because of this, so I ended up using very small nails to nail the trim into the edges of the table top. You may need to do this too if your trim isn't straight.)
-Place the Velcro strips onto the tops of the cube shelves, and the other matching strips onto the bottom of the desk. This step is optional. I haven't used anything to connect the board to the shelves yet, and it is very set in place by its weight.
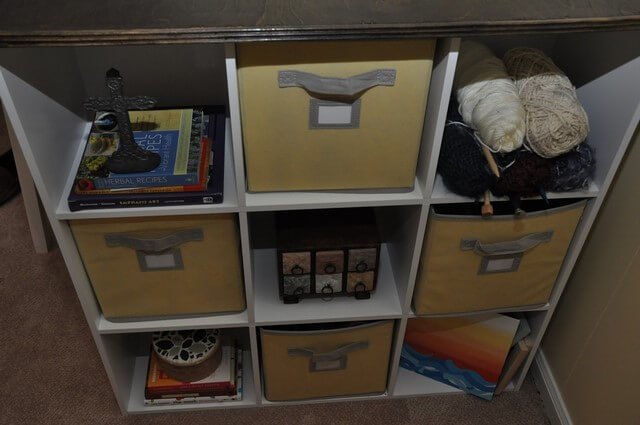
-If you purchased the storage bins, go ahead and put them into the cubes, then celebrate because you are finished!!
Below, you can see a closer look at the trim I decided to use.
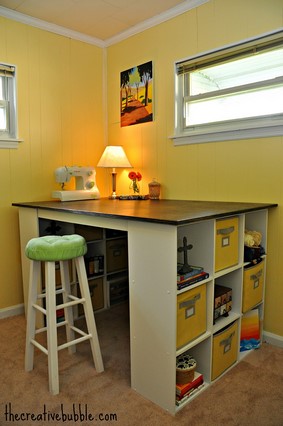
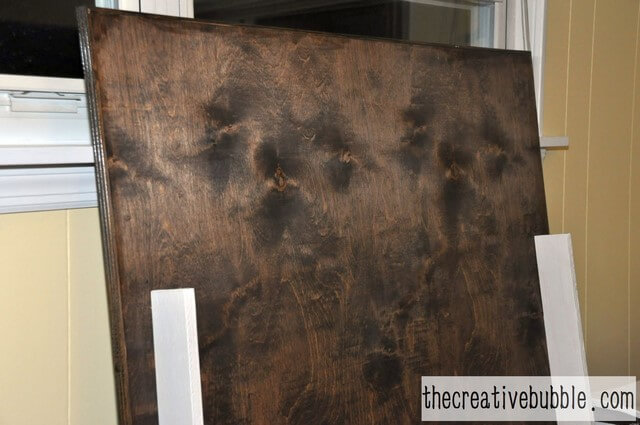
Here is how my shelves looked while I was finishing the table top. Junky and cluttered! I was so happy to finish the project table.
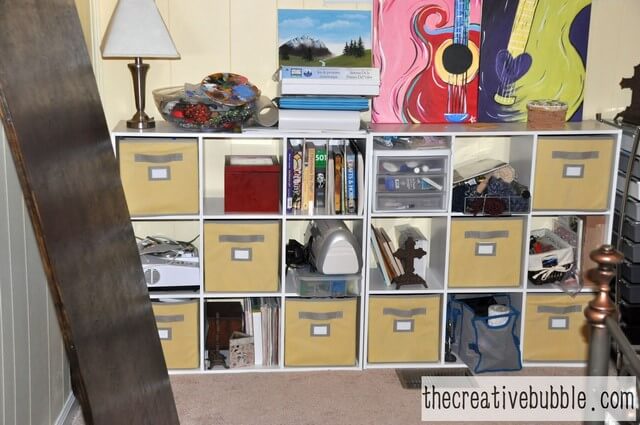
I really love it! There is so much surface area to work on. Maybe I'll be using my sewing machine more. Seriously, this is a dream come true. I've always wanted a designated crafting area, and for $227 I now have one :) SO worth it!

Hey, do you remember my post welcoming you to our 60's charmer? This is our family's first home before we started updating it. The carpet was replaced and we painted the walls and trim. The left corner is pictured in the "after" picture.
Before
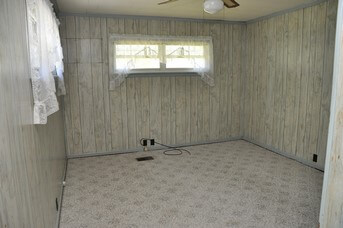
After

I hope you enjoy your homemade project table! If you have any questions about making it, please let me know.
Linked up with:
The Naptime Review
The Frugal Girls
Thirty Handmade Days

No comments:
Post a Comment