Friday, March 29, 2013

One Year Blogiversary

Hello, hello everyone!  I am so excited to have made it through a full year of blogging.  This is just a short and simple post to celebrate The Creative Bubble's one year anniversary. Ironically enough, this is also my 100th post.

Thank you so much to all of the friends I have made thus far.  I really have enjoyed connecting with you all.

You know they say blogging may make for happier moms (and all people really)? 

"....from a recent study that found there’s something about blogging – whether it’s writing your own or just reading and commenting on others’ blogs --  that makes new mothers feel more supported and connected to family and friends, which in turn helps their overall transition to parenthood."

"New moms know well the dearth of downtime in a day (see: feedings/diaper-changing/laundry/repeat), as well as the emotional ups and downs that come with the territory.  So when you get a little time to yourself, here’s some advice: Try blogging. It may make you happier."
 Blogging Makes New Moms Happy (article from Today.com)

 Also, if you are a mom considering blogging, you will love this article:
http://www.washingtonparent.com/articles/1204/blogging-moms.php 

One more great article:
 Can Blogging Make You Happier? The Answer is YES!


Check out the first post that jump started this site:

Thursday, March 21, 2013

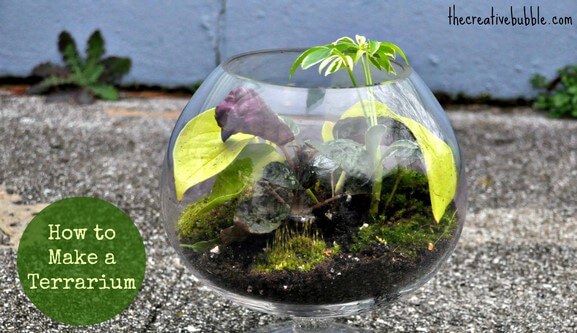
How to Make a Terrarium

I've always been drawn to terrariums.  They remind me of Spring, and add beautiful color and life to a room.  I have to be honest though.  Up until just now, during spell check, I realized that it is terrarium and not terraNium.  Oops.  So, now I feel silly thinking about all the people I talked to about my terranium.  Haha.   Anyway, I made one!  There aren't many tight rules to making a terrarium, so I will explain the basics if you want to make one for yourself. 


Materials Needed:

glass for terrarium 
      -Uniquely shaped glassware makes a more interesting terrarium.  I found mine at TJMaxx. 
plants
      -Try choosing various leaf shapes and colors to add contrast and interest.
potting soil or dirt from outside
      -I just used dirt from my flowerbed out front.
moss or marbles (optional)
      -You can add flare to the terrarium by including moss (I found mine in the yard or you can find it at some craft stores.) or marbles/glass beads.

Directions:

Clean the glass container first.
Add a decent amount of soil to the bottom of the glass to ensure that the plants' roots can flourish.
Gently separate the roots of the plants you have (if they are too large to fit into the glass). 
Plant the plants into the soil however you like, making sure the roots are completely covered.
Add moss or beads to the top of the soil (optional).

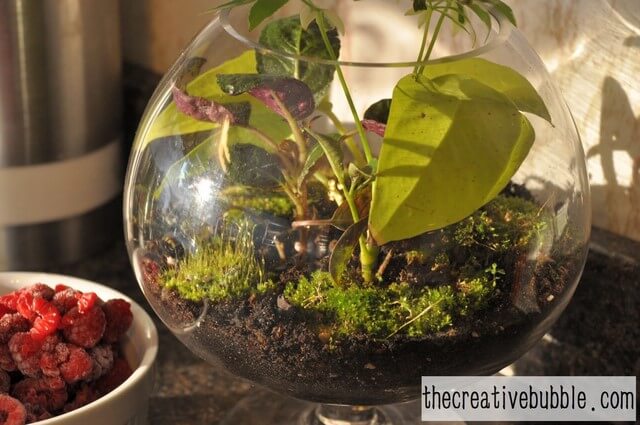
 Below are the plants that I chose for my terrarium.  I didn't actually end up using those glass beads in the glass.  I used moss instead.  I liked the look of the moss much more. 

I had enough leftover plants to make a cute, little planter, too!

Levi wanted to help mommy play in the dirt.  


Happy Spring everyone!  These terrariums are a great way to bring a bit of the green Spring indoors.

Linked up with:
The Frugal Girls


post signature

Thursday, March 14, 2013

Homemade Deodorant


You may have heard that there's a link between antiperspirant and Alzheimer's disease.  I heard about this in 2003, and it completely freaked me out !  I switched to using deodorant without antiperspirant.

If you also use natural deodorant, have you ever had a hard time finding one that actually works!?  I think I have the world's largest deodorant collection in my bathroom only because none of them really worked for me like the antiperspirants did.  I literally tried about ten different brands.  

Jillee, from onegoodthingbyjillee.com posted a great recipe for homemade deodorant that I figured was worth a shot.  I altered the essential oils to get a citrus clove scent, which I love! 

Ingredients:
1/2 cup coconut oil
1 1/2 Tablespoons beeswax pellets
1/2 cup baking soda
1/2 cup cornstarch
10 drops each of grapefruit and wild orange  dōTERRA essential oils
5 drops of clove dōTERRA essential oils
The essential oils aren't necessary, but they are a nice touch!  You can also use different ones like lavender or vanilla.


  Directions:
Add the coconut oil and beeswax pellets to a small saucepan. Slowly melt over very low heat. Once melted, remove from heat and add  baking soda and corn starch.  Mix with a spoon until smooth and creamy in consistency, then add the essential oils and pour into your containers. Let stand to cool and solidify.

This recipe filled two regular size deodorant containers with a tiny bit left over. 

You're able to use old, cleaned deodorant containers or use new containers (available online).  I used old containers by scraping the remaining deodorant out, then boiling them for about ten minutes.

This is the first natural deodorant that I feel confident wearing, and I can't believe I made it at home!  The ingredients are pretty inexpensive.  The only thing that might cost a little more is the beeswax, but once you have that on hand, you can try so many other fun recipes.  Keep in mind that beeswax is really hard to clean off of dishes, and you will probably want to avoid using water at first.  I like to melt it off the dishes as much as possible, then wipe them down with paper towels, and finally use soap and water.

Try these other recipes using beeswax:
Homemade Chocolate Lip Balm 
Homemade Solid Perfume 


Linked up with:
Ginger Snap Crafts | Lady Behind the Curtain | Creations by Kara Someday Crafts | Life with the Crust Cut Off 

Thursday, March 7, 2013

Homemade Play Dough

While surfing other blogs, I came across a blog where a mom was letting her seventeen month old play with play dough.  I wondered why I hadn't let Levi try it yet.  Well, really I knew...it's because he'd be likely to try to eat it.  He's into this weird thing lately where he will find fuzz balls on the floor, play with them, and eventually try to eat them before I catch him and tell him how gross it is!  I'm not sure if he's trying to mess with me or what, but if he's willing to put those icky fuzz balls into his mouth, surely he would try to eat play dough.  I still wanted to give it a shot!  Next, we are going to try sidewalk chalk as soon as it's warm enough.  It's so fun to try all these new activities with him!

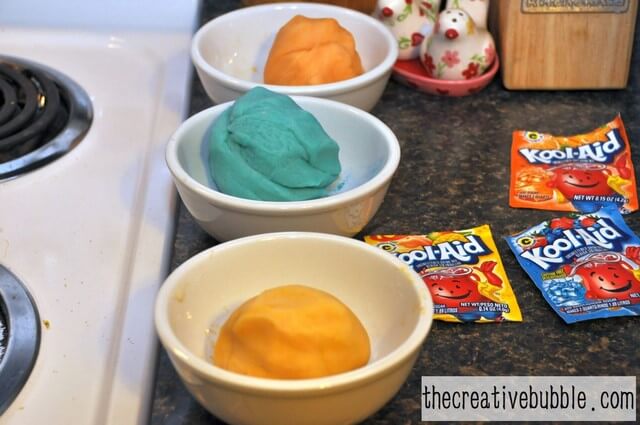
There are several recipes out there for homemade play dough.  Some do and some don't have to be cooked.  I discovered that the recipes you cook usually last longer, especially when they're stored in the refrigerator.  I used a recipe from marthastewart.com, and added a twist.  You can color and add scent to the play dough using a little koolaid mix.  I didn't want to make it more enticing for my little one to consume, but I had to try this!

Ingredients:

1 cup flour
1/2 cup salt
2 teaspoons cream of tartar
1 teaspoon cooking oil
1 cup water
a pinch of Koolaid for coloring

Directions:

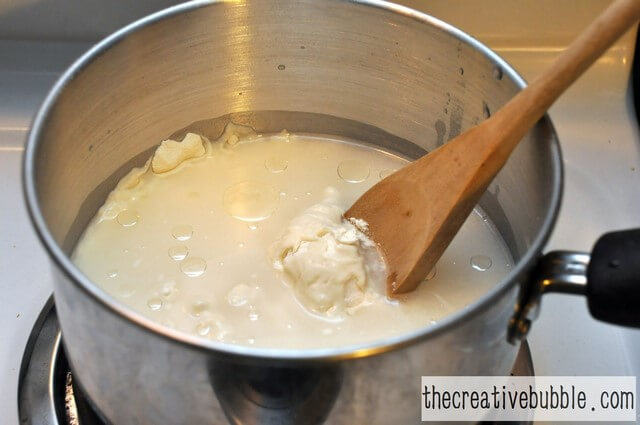
1. In a heavy saucepan, mix all of the ingredients.
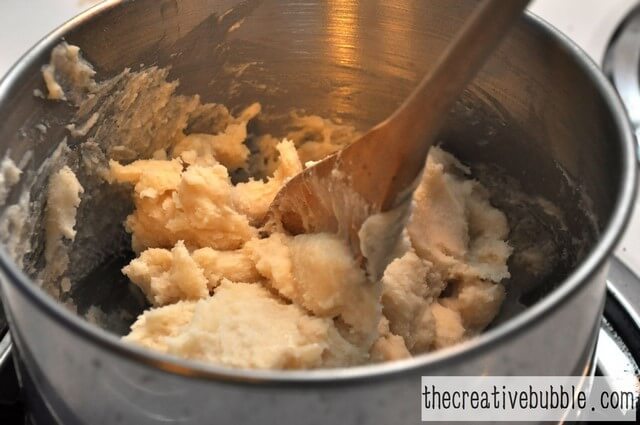
2. Cook on a medium heat, stirring constantly for 3 minutes or until mixture pulls away from sides of pan. It will have the consistency of mashed potatoes.
3. Remove from heat; let cool for 1 minute and then knead. It should have a soft, smooth texture.
4. Play dough can be stored in airtight containers and will keep for several weeks in the refrigerator.


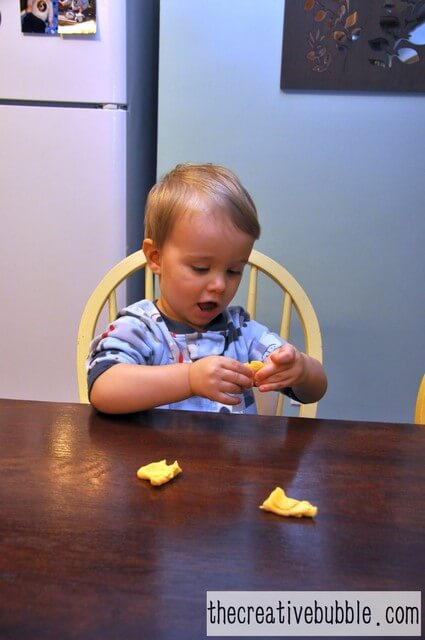
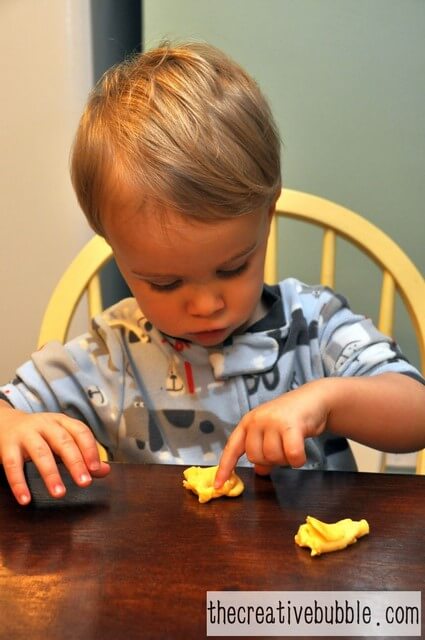
The true test was whether or not Levi liked playing with it.  He wasn't too sure about it at first, but now he asks to play with it when he's in his booster seat.  ....and yes, he did try to eat it a couple of times.  His favorite thing to do is to use kitchen tools to make impressions in the dough.  I'm glad I could witness him enjoying this without having to make a trip to the store, and without spending anything (since I already had all the ingredients)!

I hope you have fun trying this with your little ones!

Take a look at our homemade finger paint endeavor, too.

Linked up with:
The Frugal Girls
The Frugal Girls 5/9