Sunday, February 24, 2013

Then There Were Two

Confessions of a new mom of two:

Most moms know that you can be a little emotional right after having a baby, aka "the baby blues".  I had them with my first son, and they were mainly geared around the fear of being a new mom, worrying about not bonding with him the right way, and not knowing how to soothe him (he was quite vigorous from the get go!).  I was also afraid of the change being a mom would bring to our carefree way of life.  Soon enough, we got through the difficult newborn season.

While I was pregnant with my second son, I looked at pictures of my first son with a longing to hold his tiny, little newborn body again without the overwhelming fear I had overcome.  For this, I was extremely excited to meet and hold my second son close!  I entered this with a greater confidence and experience.

He was born on February 6th, so I've had two and a half weeks with him thus far.  It has been wonderful to have a new life in our family.  He's beautiful and precious.

I did deal with some similar baby blues again this time, but definitely less powerful this go round.  It was mostly centered on a fear of not being able to successfully balance the love and attention I give both boys.  I was terrified that life would be so crazy I wouldn't be able to give Levi (the oldest) the mom time he needed and was so used to.  I think I cried over it about three or four times.  Thank goodness, I'm feeling better now, and I've realized something about my toddler.  He won't let me not give him attention!  He demands it!  Haha.  So, it's been good around here.  Things have worked themselves out.

I'm prepared to face challenges with two young boys, not far apart in age.  Thankfully, I have this incredible friend who is always reminding me that all difficult times are "only seasons".  Thanks Christine!

Hopefully, time will allow for me to find my way back into the blogging world soon!  I have a lot of recipes and crafts built up to share with you all.  For now, I'm taking it slow and easy and enjoying the time God has given me to care for these two beautiful boys. 


Wednesday, February 13, 2013

Jonah's Arrival

This last week has flown by.  We welcomed our second baby boy, Jonah Thomas, into the world on February 6th at 6:29am.  He was 6lbs, 7oz, and 19.5in long.  He is healthy and oh so sweet!  We are already very in love with him. 

His older (nineteen month old) brother, has accepted him quite well.  He kisses him frequently, points and tells me where his eyes and nose are, and tries to give him his pacifier.  It's a strange feeling to go from focusing on one child to suddenly having your attention and love going to two!  I feel very grateful for the ability to be the mother of both boys.  They are my sunshine. 

Welcome Jonah Thomas!


Tuesday, February 5, 2013

Double Chocolate Raspberry Chambord Brownies

This is a three part recipe that I came up with in honor of Valentine's Day.  It just seemed so suiting to mix dark chocolate and raspberries for this lovely holiday!  I really enjoy brownies with large chocolate chips that didn't quite melt in the baking process, so I had to include those in this recipe.  I also really like some texture to brownies, so that's why I added the cookie crust.  

Part one: Chocolate Sandwich Cookie Crust
Part two: Brownie Layer
Part three: Raspberry Cream Cheese Chambord Icing

Use a 
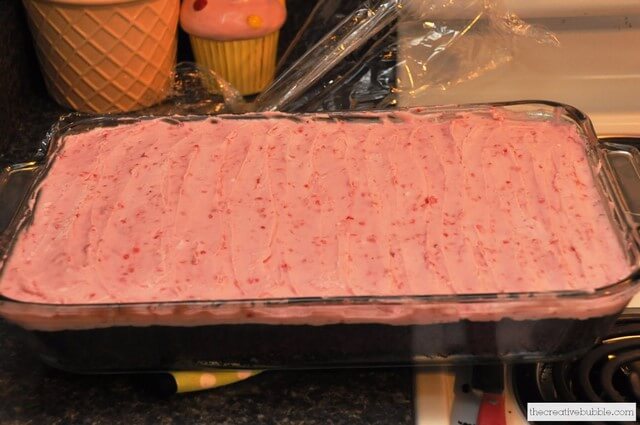
greased 12in x 18in glass baking dish.

Oreo Crust

Ingredients:
22oz. Newman's Own chocolate sandwich cookies (crushed into fine pieces)
3/4C butter, melted

Directions:
Mix butter and crushed cookies together and press firmly into baking dish.
You don't have to bake the crust before adding the brownie layer.

Brownie Layer

Ingredients:
1 lb unsalted butter
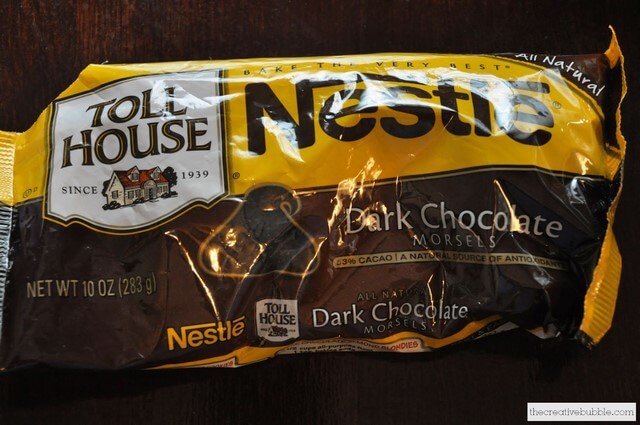
1 lb plus 12 oz dark chocolate chips
6 oz unsweetened chocolate
7 large eggs
2 T homemade vanilla extract
2 1/2 C sucanut (sweetener)
1 1/4 C all-purpose flour
1 T baking powder
1 t salt

Directions:
Melt together the butter, 1 lb of chocolate chips, and the unsweetened chocolate in a medium bowl over simmering water.  Allow to cool slightly.  In a large bowl, stir (do not beat) together the eggs, vanilla, and sugar.  Stir the warm chocolate mixture into the egg mixture and allow to cool to room temp.

Preheat oven to 350 degrees.

In a medium bowl, sift together 1 C of flour, the baking powder, and salt.  Add to the cooled chocolate mixture.  Toss the 12oz of dark chocolate chips in a small bowl with 1/4 C flour, then add them to the chocolate batter.  Pour into the baking dish.

Bake for approximately 35 minutes, until a toothpick comes out clean.  Be sure to not over bake the edges, but also be aware that it may take longer than 35 minutes for the middle to finish cooking.  Allow to cool thoroughly before adding the Chambord icing.

(brownie layer modified from the Barefoot Contessa's Outrageous Brownies)

  Raspberry Cream Cheese Chambord Icing  

Ingredients:
4 oz cream cheese (softened)
4 oz unsalted butter (softened)
1/2 tsp homemade vanilla extract
1/2 tsp salt
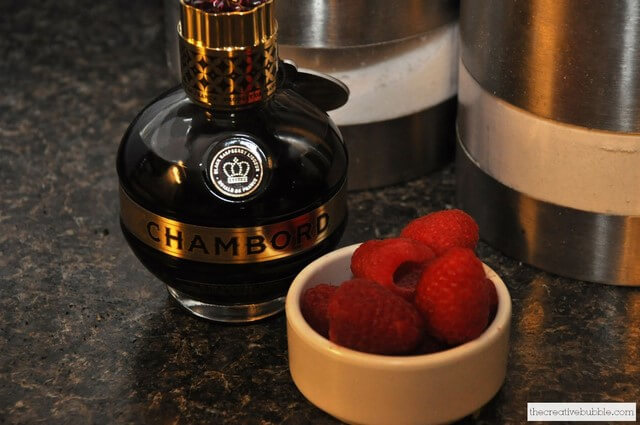
1.5 T Chambord liqueur
6 C unrefined, homemade powdered sugar
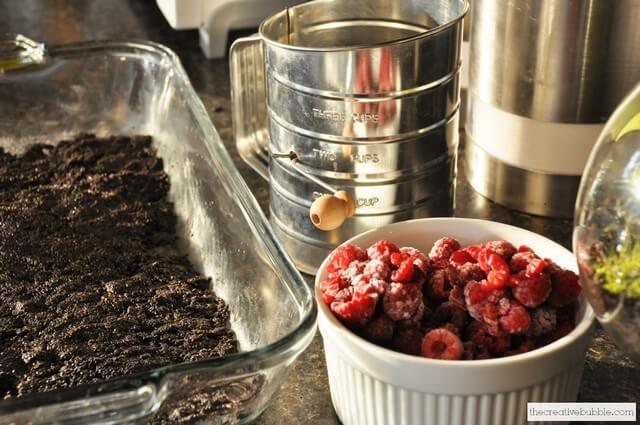
4 oz pkg fresh, organic or locally grown raspberries

Directions:
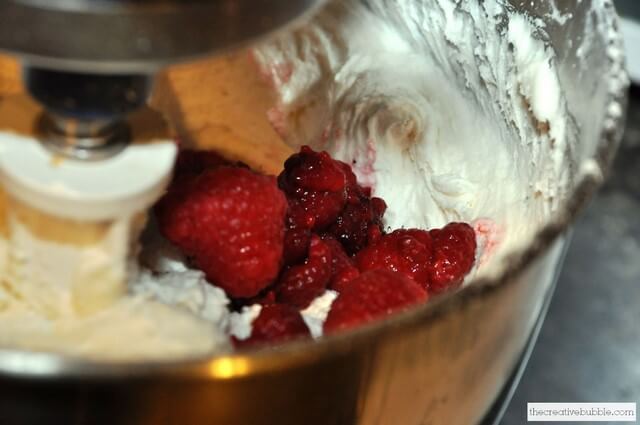
Cream cream cheese and butter, then add vanilla, salt, Chambord, and powdered sugar 1 cup at a time.  Then, on high speed whip for a few minutes until light and fluffy.  Add the fresh raspberries last, and mix for only a few seconds until incorporated.  Refrigerate for 30 minutes.

Putting it all together:
Frost the brownies once they are completely cooled with as much icing as you like (you will probably have a little left over which is a great excuse to make a small cake, cupcakes, or you can use it as a filling for muffins!).
Refrigerate after icing to allow the frosting to become a little firmer to help you get a cleaner cut.  The Oreo layer will likely be a little hard to cut into when it's cold.

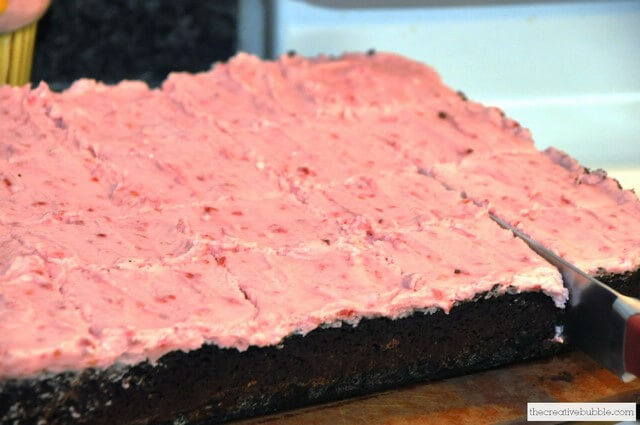
Helpful hint:  Use a knife to cut around the brownie edges after you ice them.  Then, put the dish in the freezer for three to four hours.  Cut around the edges again, and use a large spatula under the brownies to remove the whole frozen mass from the dish.  Place onto large cutting board.  This will help you cut the brownies without ruining the pretty icing on top. 

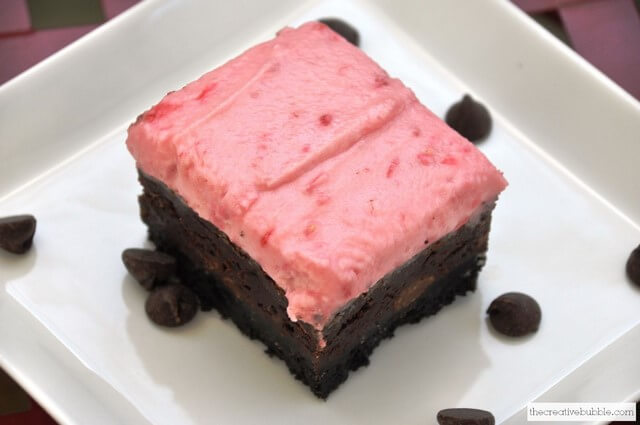
Cut into squares and enjoy! 

I absolutely LOVE the flavor combination and texture of these brownies!


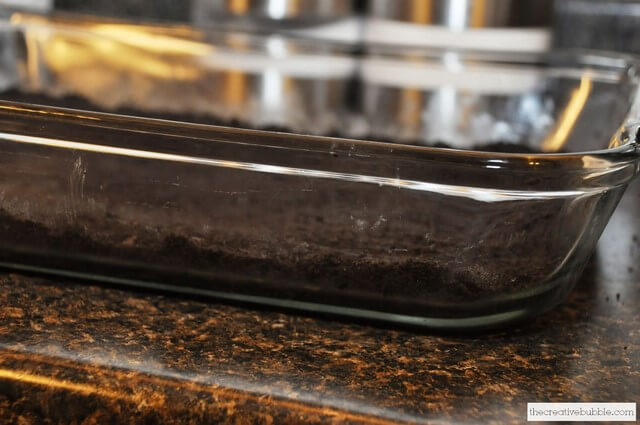
This is how thick I like the Oreo crust to be.

 These are my favorite chocolate chips to use in desserts.  They are larger chips than normal, and taste delicious.

 pouring the super chocolatey batter onto the Oreo crust


 This is how my (frozen) brownies looked after I removed them from the baking dish to make them easier to cut. 


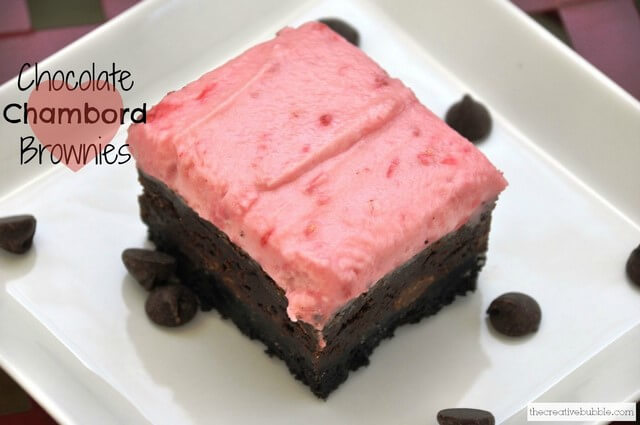
Here is the final product!  Let me know if you try them.  I hope you do!  You won't be disappointed. 

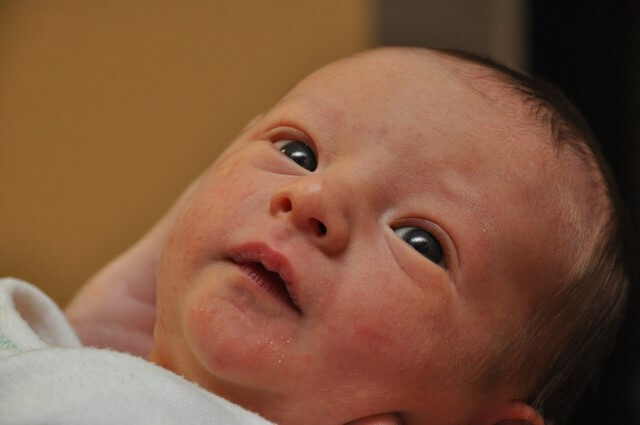
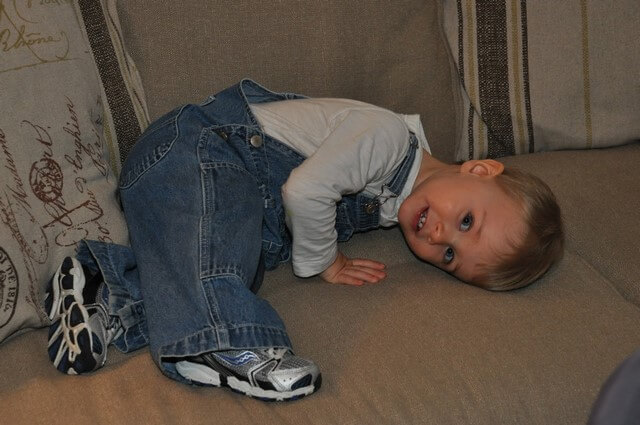
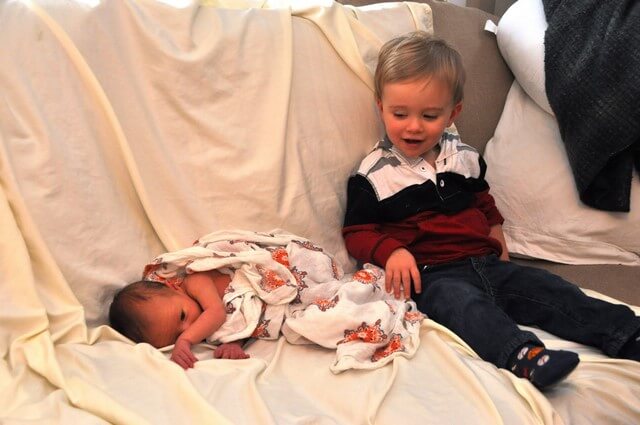
I might be headed to the hospital soon.  Wish me luck!  We think it's time to have our baby boy.  I wrote this blog entry while having minor contractions.  ...hoping this is the real thing!  *Update: (...and it was!)

Linked up with:
The Frugal Girls


post signature

Friday, February 1, 2013

How to Make a Felt Board

Sometimes I feel like I don't have enough tools around to teach Levi about colors, numbers, shapes, etc.  I wanted to buy or make something that he could use to play and learn that I could adjust as he advances.  That's why a felt board is great, because you can continually cut out new shapes!


What you will need to make your own felt board:

felt glue
velcro strips or squares (Command strips would work, too.)
scissors
poster board
large piece of felt (needs to measure 2in larger than all sides of your poster board)
felt to cut out fun shapes

 
I had a little helper...just hanging out eating his granola bar in the middle of the poster board.

Steps to making your felt board:

1.)  You may want to first iron the large piece of felt if it has wrinkles like mine did. 
2.)  Lay felt flat on the floor, then lay the poster board on top of it.  
3.)  Cut around the board, leaving about two inches on each side to glue to it.
4.)  Cut excess fabric away from corners, creating a square (see below).
5.)  Glue each edge to the board using the felt glue.  Make sure it's pretty tight.
6.)  Attach sticky Velcro pieces to the highest places on the back of the board. 
7.)  Connect the Velcro to it's matching piece, leaving the sticky side exposed on the back, so you can just place it on the wall without worrying about sticking them exactly where the corresponding Velcro pieces are on the board.  Make sense?  I don't think I worded that well.  
8.)  Stick the board to the wall.  
9.)  Cut out shapes to stick to the felt board.  I love this part!  Felt sticks to felt in case you didn't know.  


  Levi loves his new felt board!

So far I have just cut out some quick and easy shapes to fill the board, but there are so many possibilities with this thing!!  You can really find some cute ideas if you search for felt boards online.  I am looking forward to making shapes for each holiday.  Be prepared to have felt pieces scattered throughout the house if your toddler is anything like mine!  I'd love to hear if you make or have made a felt board, and what shapes you come up with for learning/playing.  

 I just used a sharpie pen to draw the faces on the banana, tomato, and carrot.


Linked up with:
The Frugal Girls