Well, Christmas is over, but I'm still posting gifts I made for people, because I was
way too busy making them to post them all.
I've been excited to get this entry up. It was one of my
favorite
homemade gifts to do last month, mainly because I got to practice on the sewing machine. I always feel so accomplished after I succeed in
not destroying a sewing craft or the machine itself!
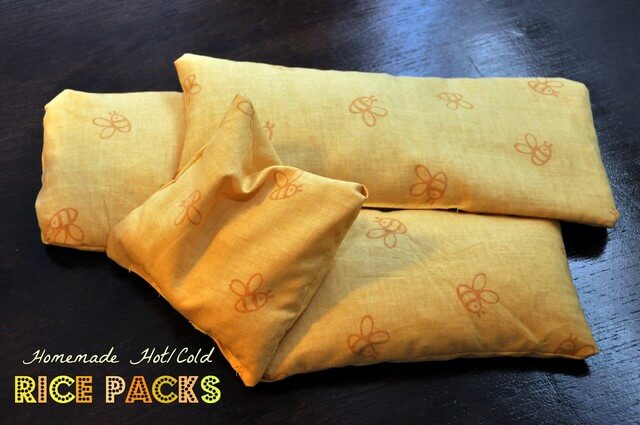
The whole process of making homemade
hot/cold rice packs
only took me about 2.5 hours. It was a pretty simple project and the materials you need to do it are easy to come by.
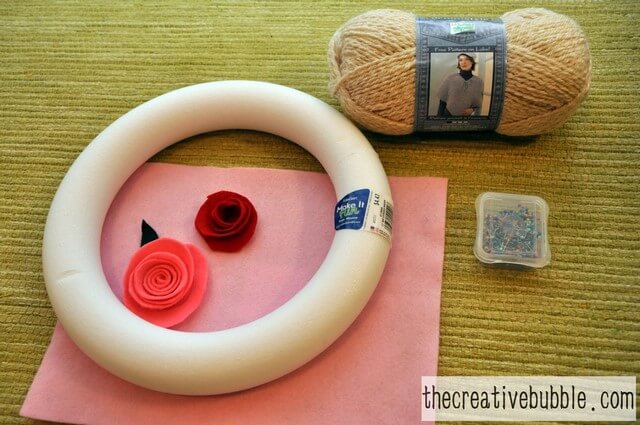
What you will need:
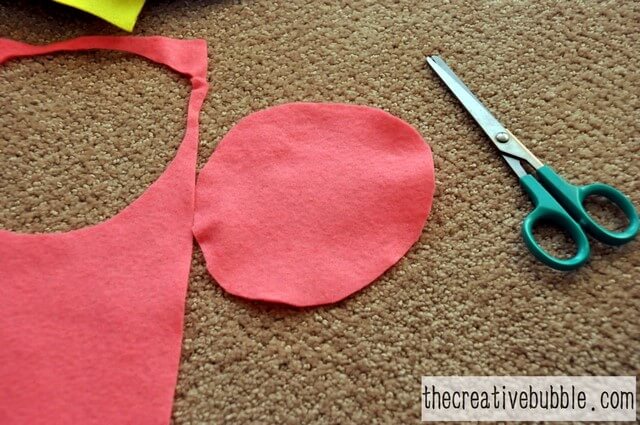
scissors
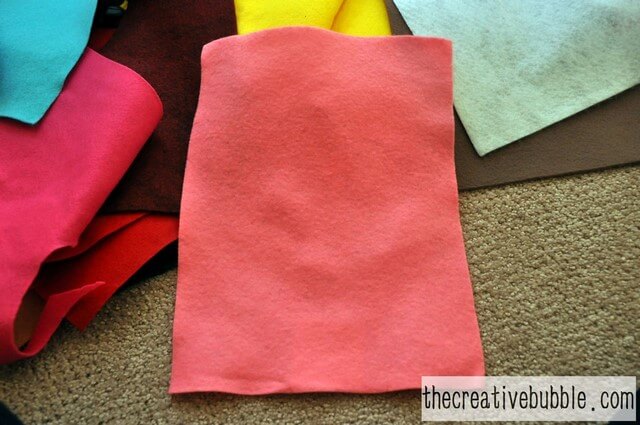
fabric of choice-cut out in whatever shapes and sizes you like (two matching pieces per rice pack)
sewing machine-if you choose that route (or you can hand sew them)
thread
rice (brown or white)-I used both brown and white.
dōTERRA
essential oils of choice
doTERRA's Deep Blue blend would be
incredible
in these!
 Deep Blue®
Soothing Blend
According to recent studies, more than half of us are sufferers of ongoing discomfort. Deep Blue® is dōTERRA®'s soothing solution to this challenge. Wintergreen, camphor, peppermint, blue tansy, blue chamomile, helichrysum and osmanthus work together to ease achy joints and sore muscles. Its effects are deep and penetrating with sustained results. Once gently rubbed into the area of discomfort, Deep Blue's cool therapeutic benefit will be felt almost immediately. For topical use only (wonderful for massages!). Order your own bottle through the link above.
Directions:
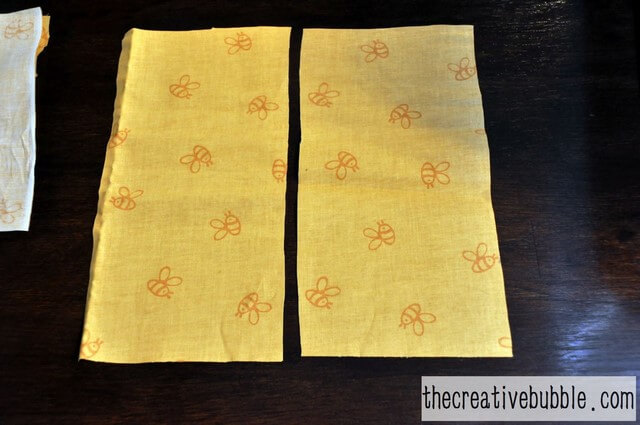
-Cut out the shapes you like from your fabric of choice. (I did various square and rectangle shapes.) Remember to cut two identical shapes per rice pack.
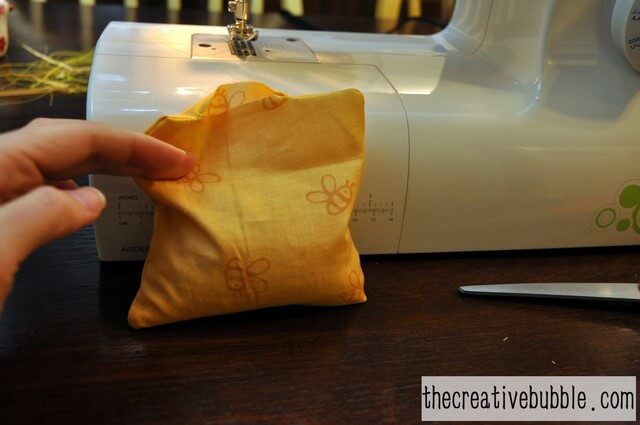
-Turn the fabric over so that the print touches the print, and you see the back of the fabric on both sides of each pack. You will be sewing them inside out, then turning them, so that the seam is hidden.
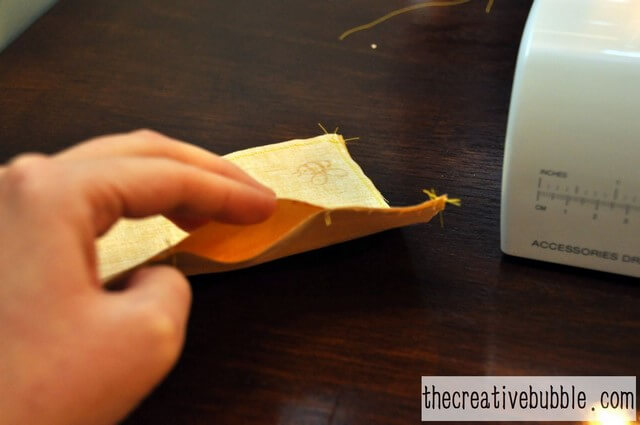
-Start at one corner and sew completely around the shape, leaving about a 2-3 inch opening to turn the packs inside out.
-Turn the packs by using a turning tool OR by pushing one corner up and pulling it out through the opening.
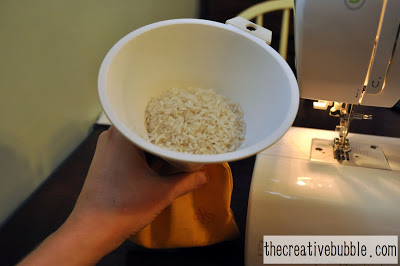
-If you choose to add
essential oils, mix them into the rice before adding it to the bag.
-Once the packs are turned, you can then fill them about 2/3 full of rice. Using a funnel helps.
-Now you can sew up the opening. Be sure to keep the rice down while you sew. You'll be able to see the seam from the small opening, but it looks just fine. You could also sew a little zipper on in place of the opening so that the rice pack will be washable. I used a machine for this part, but you can hand sew it as well.
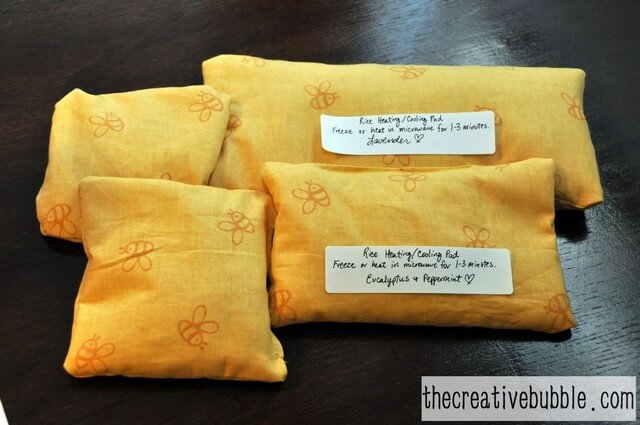
I added
eucalyptus
and
peppermint
to two packs, and
lavender
to the another.
Be sure that you don't use flammable fabrics such as synthetic felt, because they won't be microwavable.
Directions for using your rice pack:
Simply microwave for 1-3 minutes (Heat in 30 second intervals, and test the heat level between each one.) or stick it in the freezer for an hour to use it as a cold pack.
This size makes a great neck heating/cooling pack.
Notice that the fabric is turned inside out in the above picture, and I left a hole to turn the pack.
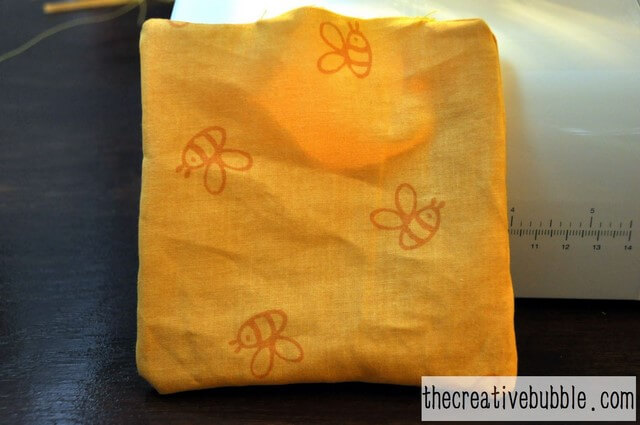
after turning the pack
I filled it about 2/3 full of rice.
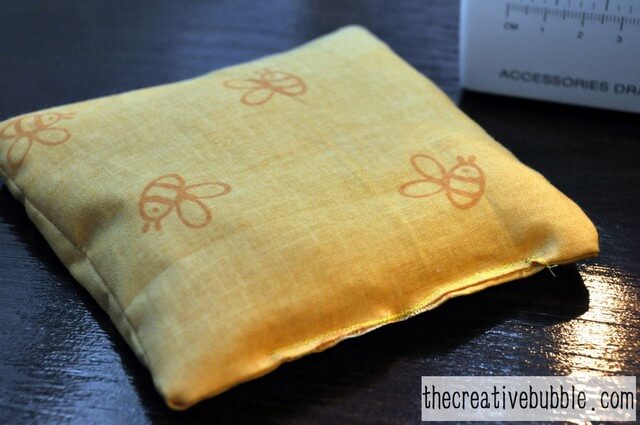
This is how the seam will look after you sew the hole.
...and here is the final product!
I got mastitis while I was breastfeeding Levi, and could
not live without the hot rice pack I had!
I'm not excited about being in pain and needing to use a hot pad,
but I am excited about how
relaxing
it will be to use if and when I need one again :)


.JPG)