Here I go again...on my
chai kick
.
I've been wanting to make a chai Italian soda for a while now, but in order to do that I had to find a good chai syrup or concentrate recipe.
This
recipe for
chai concentrate
is the one I used. I only altered a couple of things. I cut down on the caffeine level by only using two tea bags (since I'm preggo), I used sucanut instead of coconut sugar, and added a little more cardamom and cloves. I honestly only put the tea bags in for a little color. It's made with eight tea bags on the site I found, and is usually quite a bit darker. You can use all eight of them if you don't mind the caffeine and want a darker color.
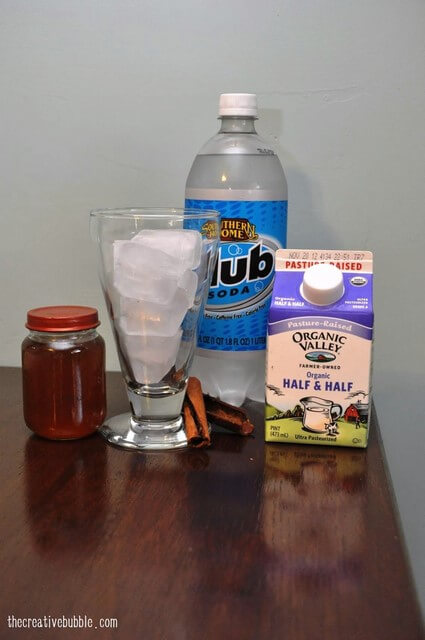
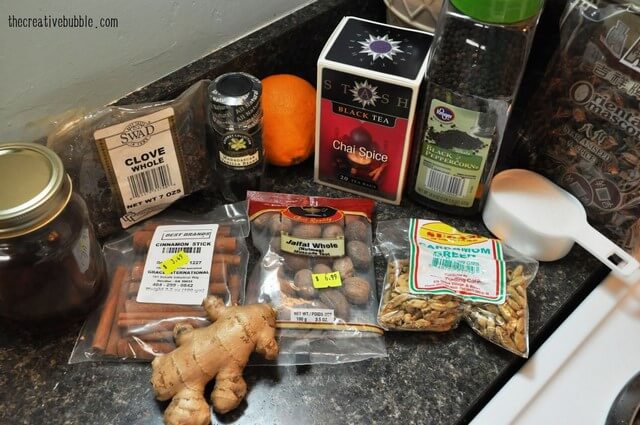
Here is what you'll need:
(yields approximately 4 cups)
4 1/2 cups water
2 bags black tea – I used black chai
2 cinnamon sticks
1/2 vanilla bean, split in half so the seeds are exposed (or 1 tablespoon of vanilla extract added at the very end)
1/2 cup
Wholesome Sweeteners Organic Sucanat Brown Sugar -- 2 lbs

(you can add more or less depending on how sweet you like your chai)
1 – 3-inch section of fresh ginger, cut into pieces
12 whole cloves
10 cardamom pods (open them, and leave seeds in the pod)
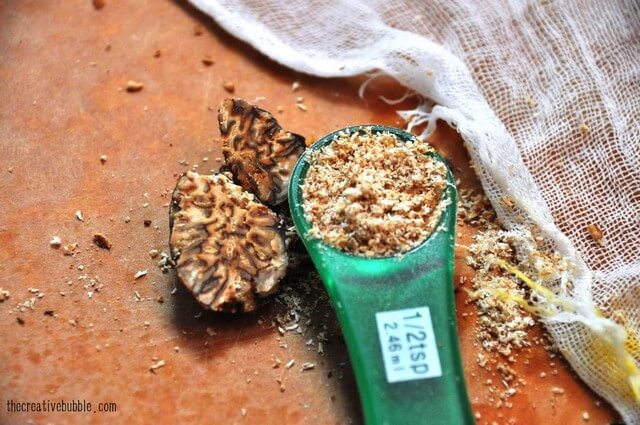
1/2 teaspoon freshly ground nutmeg
2 whole star anise pods
1/2 teaspoon of whole black peppercorns
1 teaspoon orange zest
1 tablespoon raw honey (optional, if you want it to be sweeter without the honey, add a bit more sugar in at the beginning)
1 small square section of cheesecloth, approximately 8″ square (If you don’t want to mess with cheesecloth, make sure you have a good strainer you can use at the end. You can also avoid using the cheesecloth while simmering, and instead, use a funnel with a cheesecloth in it at the end.)
kitchen twine
I love this recipe! You really can play with the amount of sucanat and each spice to fit what you like.
If you can read them, check out the awesome prices on those spices! I learned that it's really wise to shop at an
authentic Indian store
for things like cinnamon sticks, whole nutmeg, cardamom, star anise, saffron, ginger, and cloves.
Directions:
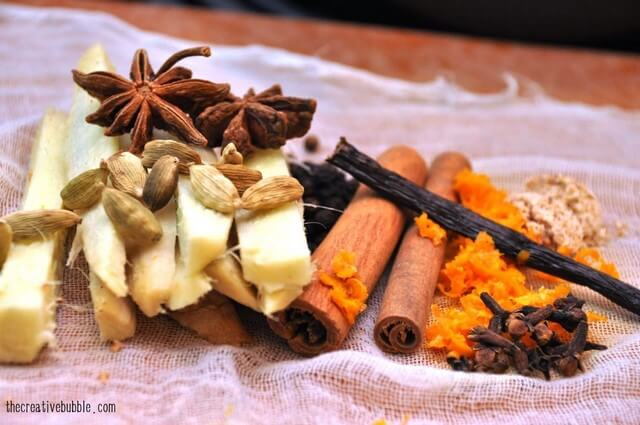
-Prepare the teabags by removing any tags if there are any and tying them all together. Prepare the spices, cinnamon sticks, vanilla bean and orange zest by laying them in your cheesecloth. Tie the cheesecloth pouch shut with a small piece of kitchen twine. I did this very loosely, so that the spices wouldn't be tightly stuffed in the cloth.
-If you don’t wish to use cheesecloth, you will just add all of your spices directly to the pan when the time comes and strain them out after.
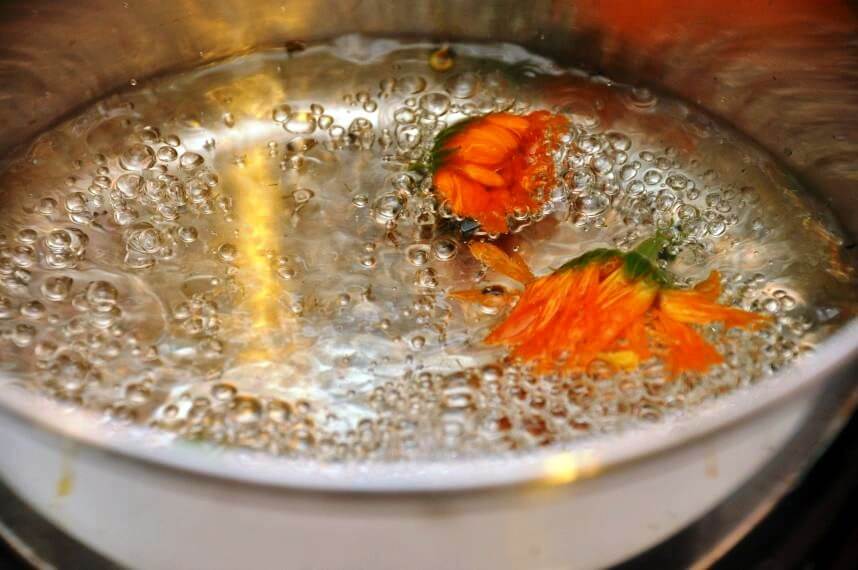
-Add the water and sucanat to a medium sized saucepan and bring to a boil over a medium-high heat. Once boiling, reduce the heat to a simmer and put in the tea bags and cheesecloth pouch. Simmer for 25 minutes.
-Remove the pan from the heat, strain the concentrate through a sieve or just remove the tea bags and cheesecloth pouch. At this point if you want a bit more sweetness you can add a tablespoon of honey, stir to dissolve.
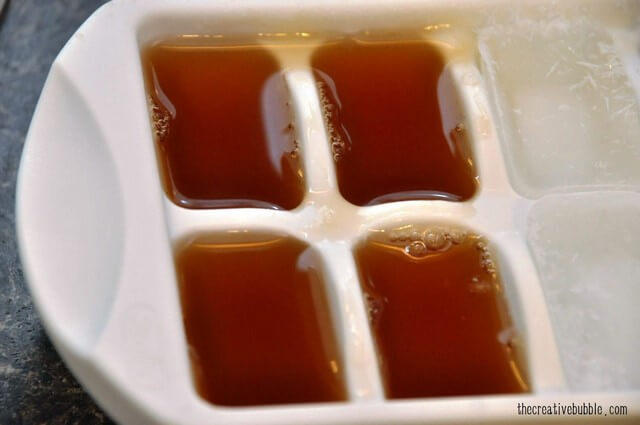
-Allow the mixture to cool before pouring it into an airtight jar or container. This amount fits perfectly into a 1-quart mason jar. Store in the refrigerator for up to one week. You can also freeze the concentrate in ice cube trays to make it last longer.
I didn't know what nutmeg looked like inside before this. It's really easy to grate by the way.
I ended up loosening the cheesecloth while it was simmering to get the full flavor of the spices.
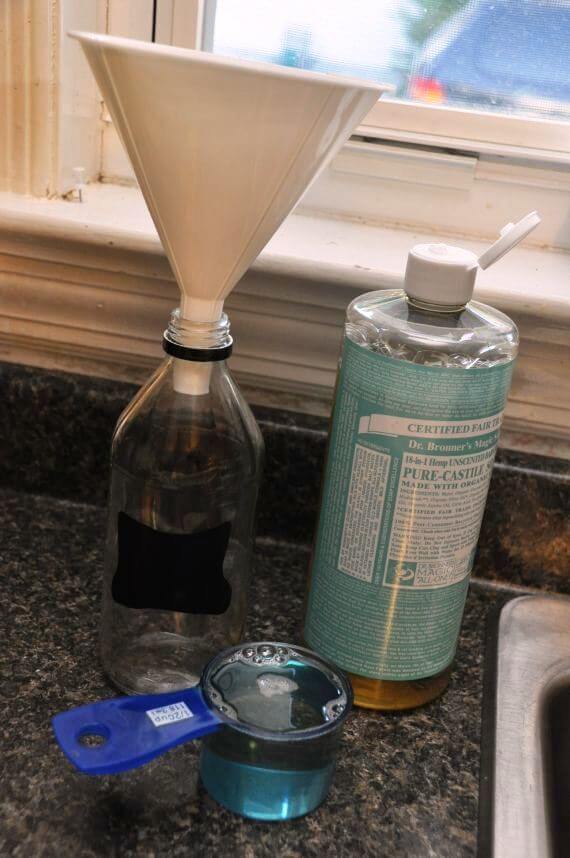
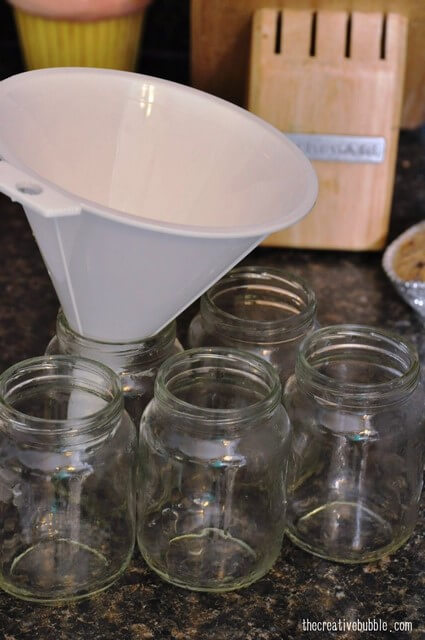
These are recycled baby food jars. I'm hoping to come up with several ways to recycle all the jars I saved. The funnel really helped, too.
The recipe filled five large baby food jars perfectly.
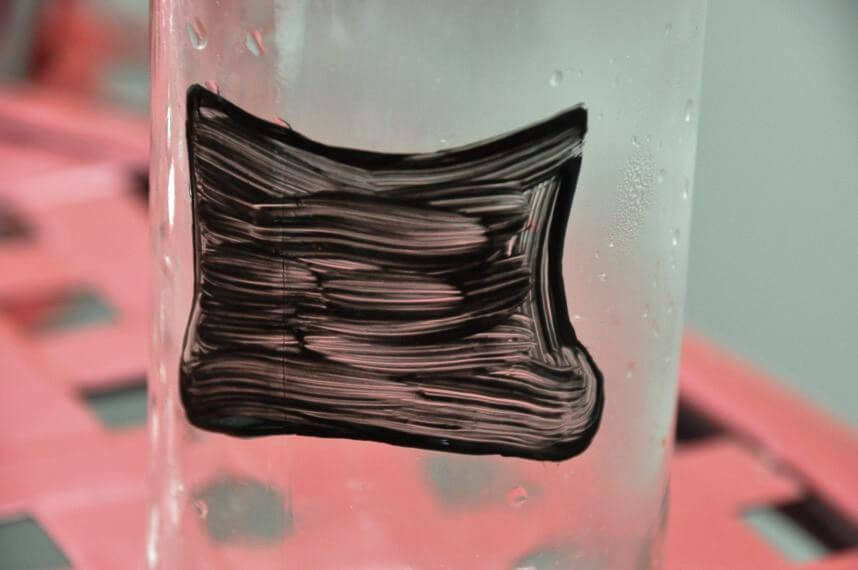
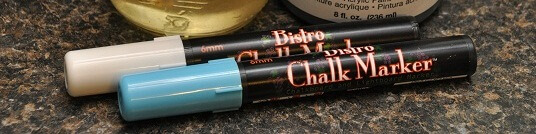
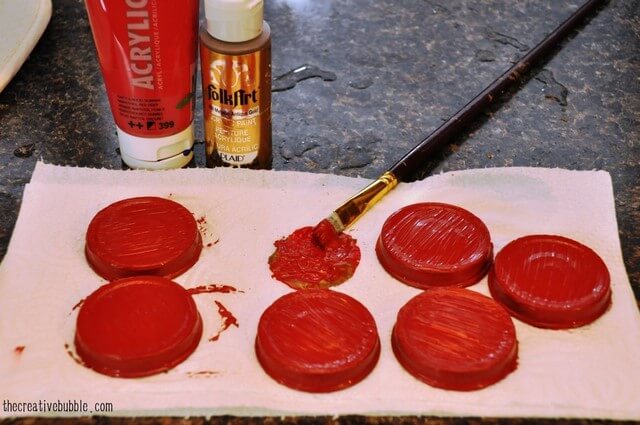
I mixed gold and red acrylic paint to paint the tops of the jars just to spruce them up.
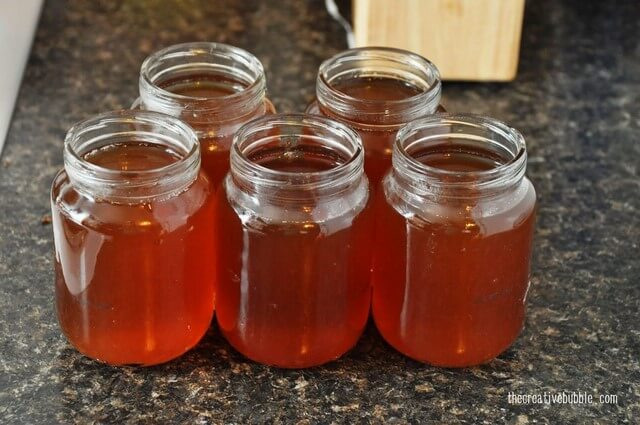
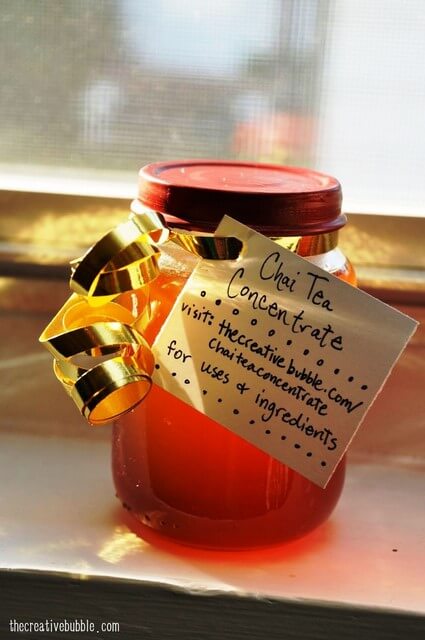
The honey color is really pretty. The concentrate would be darker if you were to use more tea bags.
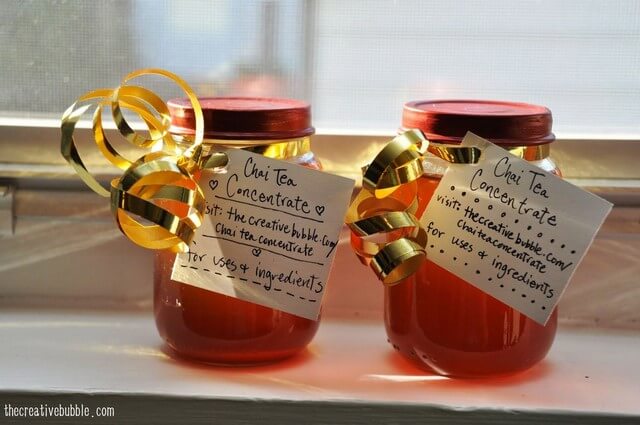
These little baby food jars with ribbon and a tag make a great gift. You can also include instructions on how to make the chai concentrate on a tag, so that your friends can make it themselves when they run out. Don't copy my tags! I read that saying "Chai Tea Concentrate" is like saying "Tea Tea Concentrate", so the website on the tag isn't correct either since I changed the blog title to "Homemade Chai Concentrate".
I've already used this concentrate to flavor scones,
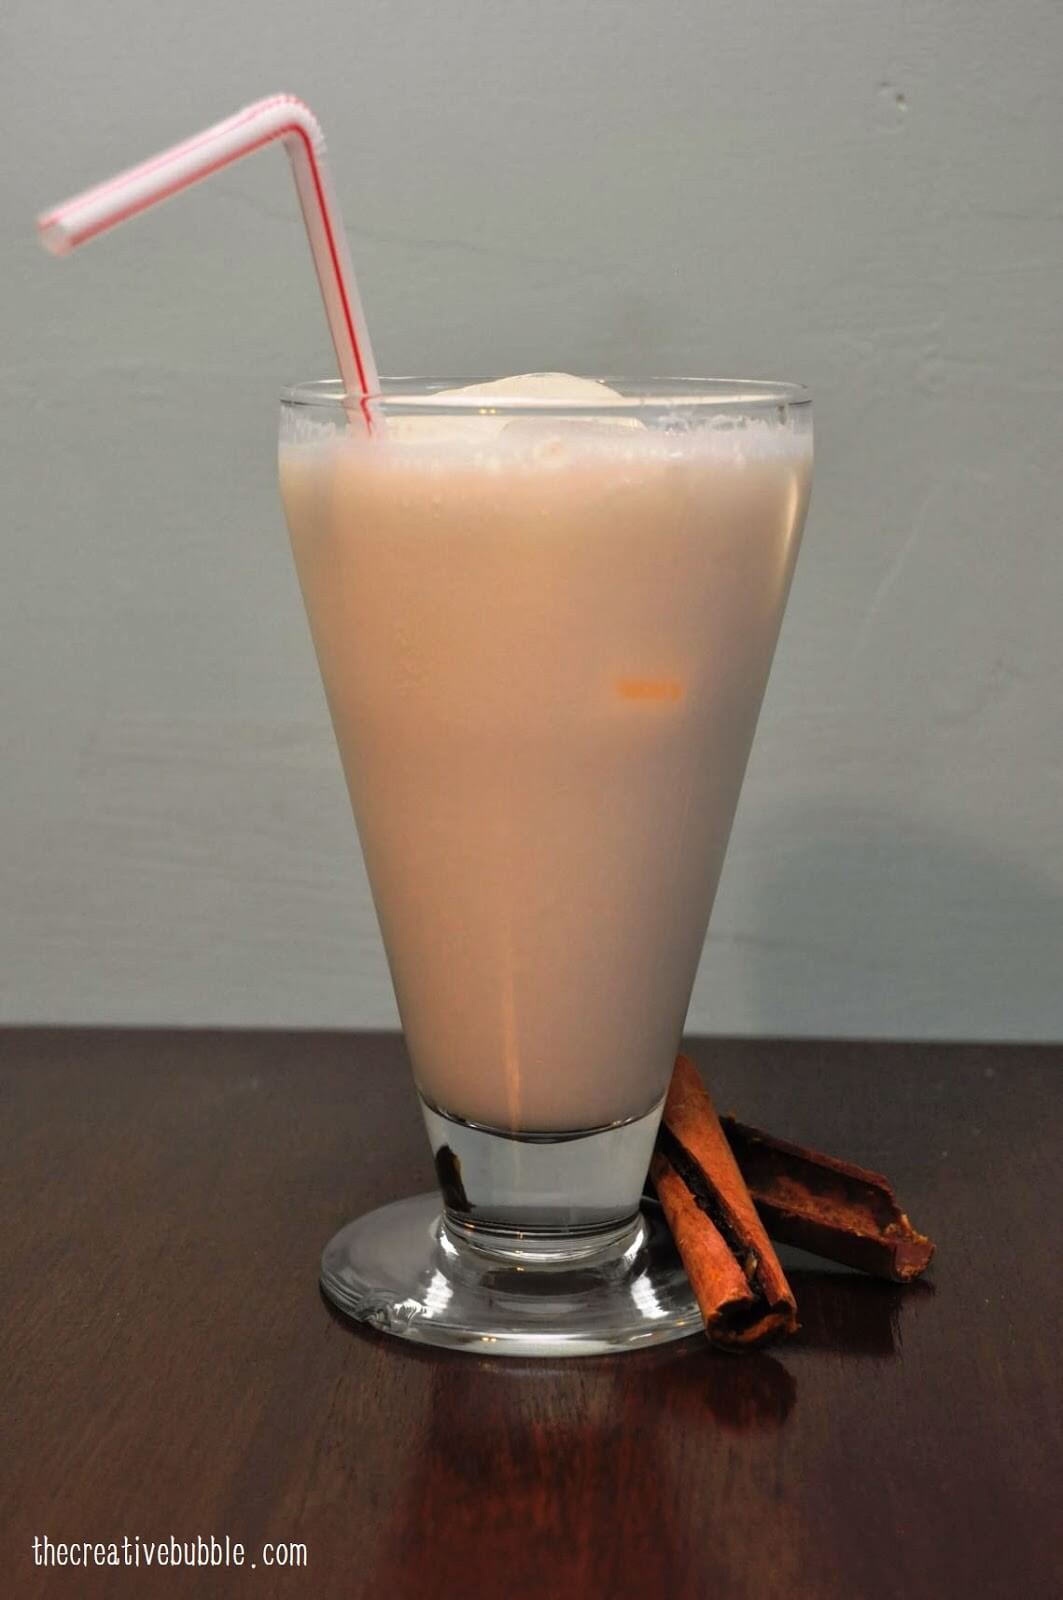
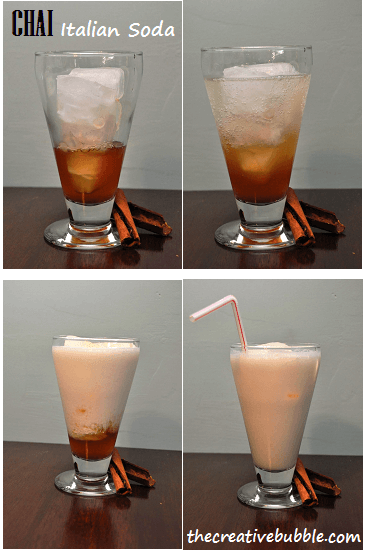
Chai Italian soda,
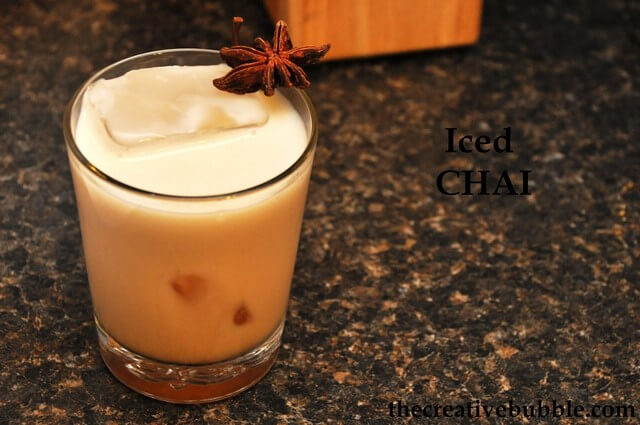
iced chai, and a
frozen chai dessert drink.
I'd love to hear how you use chai concentrate.


.JPG)
.JPG)
.JPG)
.JPG)