So, she taught me how to create these paintings, and now I'm going to share how to make them with you!
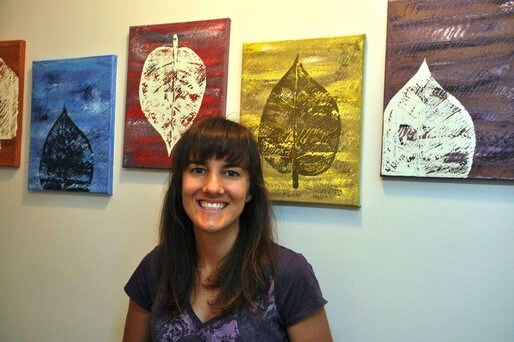
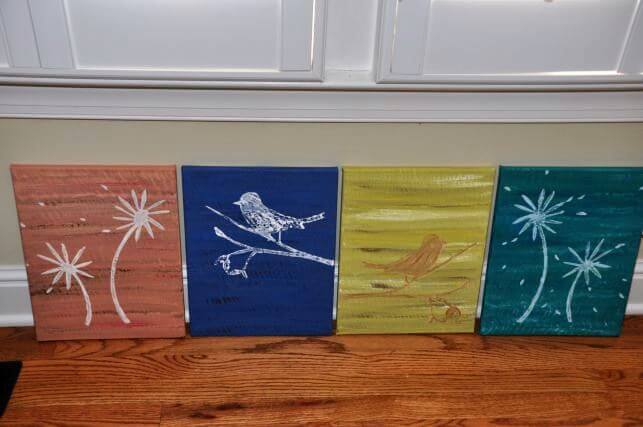
Take a closer look.
They are beautiful!
Here is what you will need:
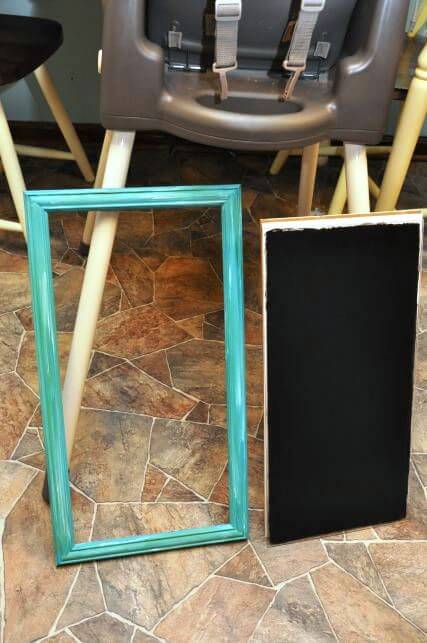
Canvases
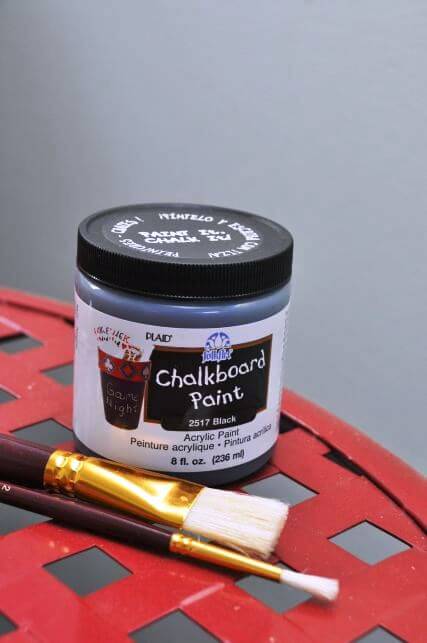
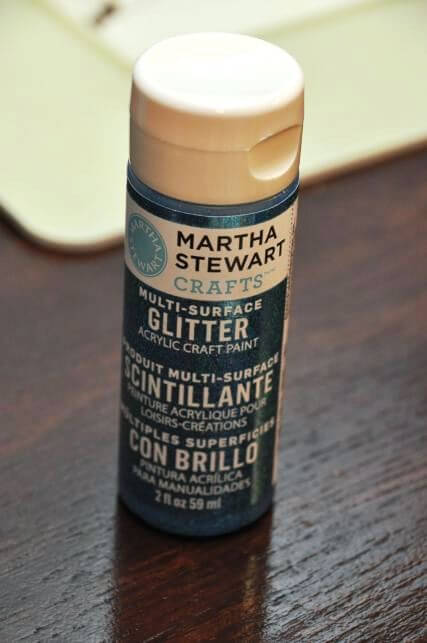
Acrylic Paint
Brushes
Foam Sheets
Scissors
Foam Brushes
Directions:
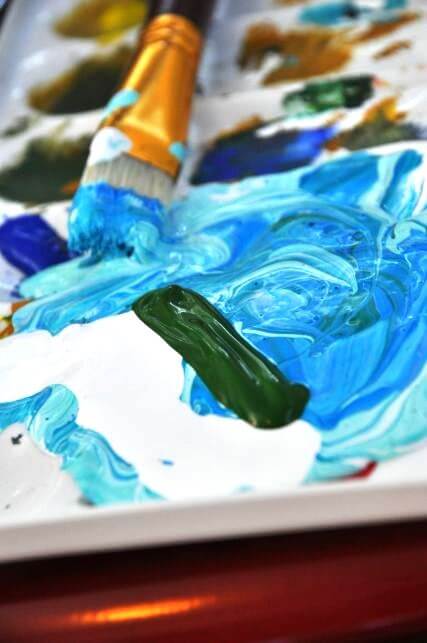
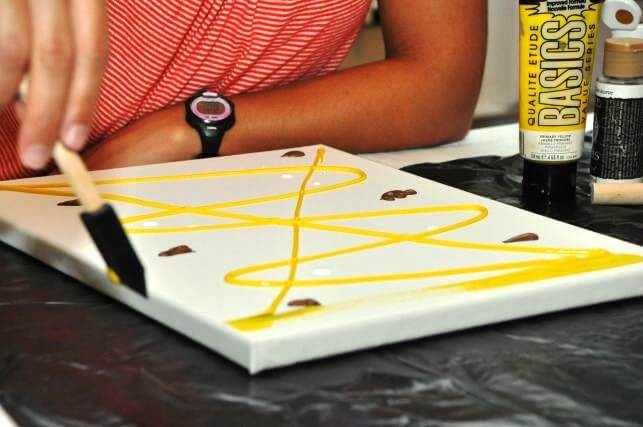
First, squirt plenty of the paint color that you want to be the dominate color in an X shape and also how you would squirt ketchup or mustard on your hot dog (best way to describe it!) on the canvas. Then put your choice of accent colors as dots/blobs on the sides.
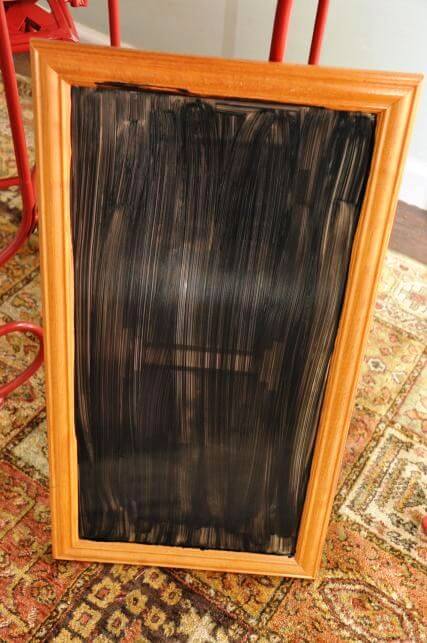
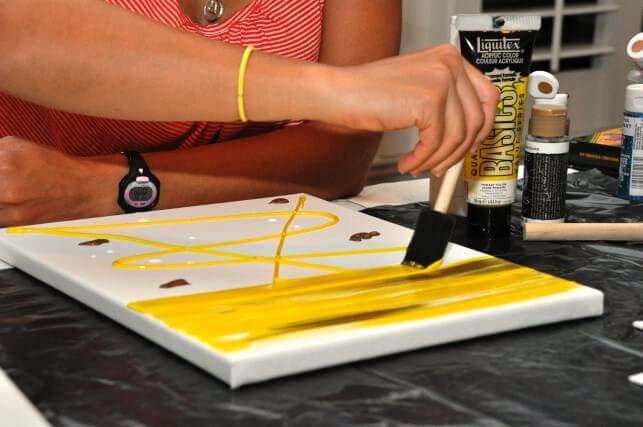
Next, start at the top and work your way to the bottom by blending the paint in line strokes using the foam brush.
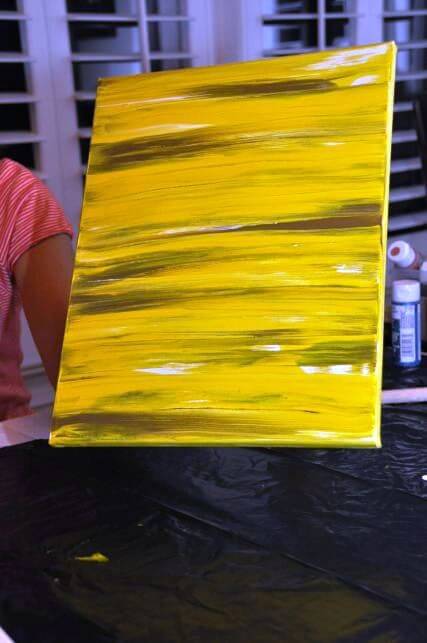
It should look something like this. The paint should still be quite wet for the next step.
This next step is the hardest to describe. Okay, here goes:
Holding the foam brush vertically above the canvas, dab up and down from one side to the other working your way from the top to the bottom until the whole painting is textured. Hold the brush at about a 1:00 or 2:00 angle, so that you don't have boring straight lines. If this is confusing, you may want to give me a call, so I can try to explain it better, likely with no luck. You can probably see what I mean by checking out the finished paintings.

Then, let the canvases dry completely.
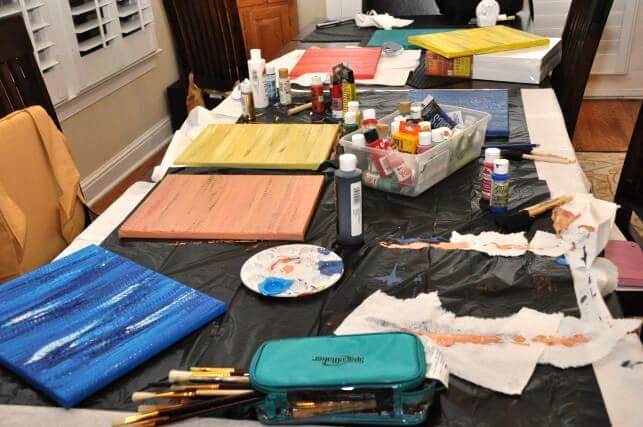
This is the disaster we left in my parents' kitchen, because we were too tired to finish that night.
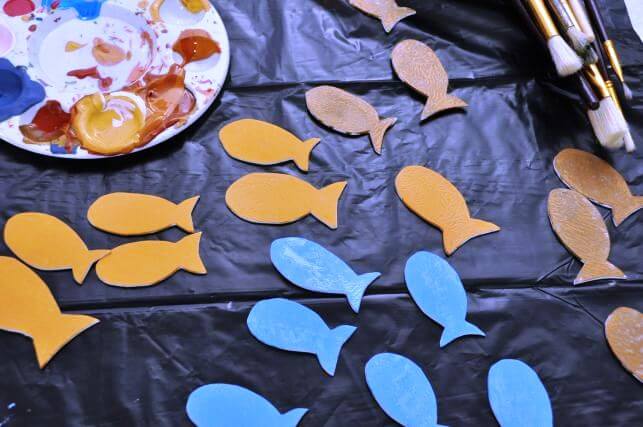
We used Foamies sheets from Jo-Ann's.

Trace the design you want, then cut it out. Try to do a simple design, so that it's not too difficult to cut out.
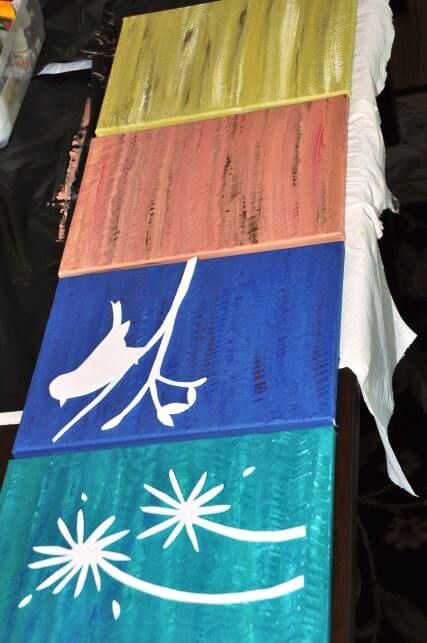
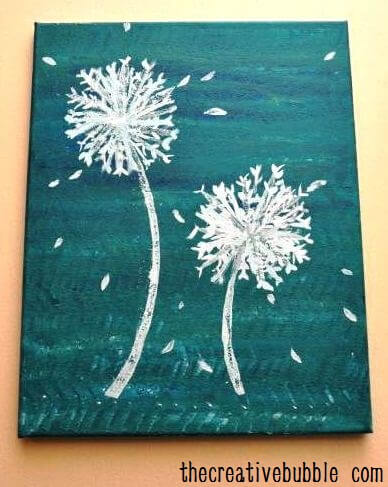
Those are supposed to be dandelions down there. They look more like palm trees. You'll see what I had to do to make them look more dandelion-ish.
Those are supposed to be dandelions down there. They look more like palm trees. You'll see what I had to do to make them look more dandelion-ish.

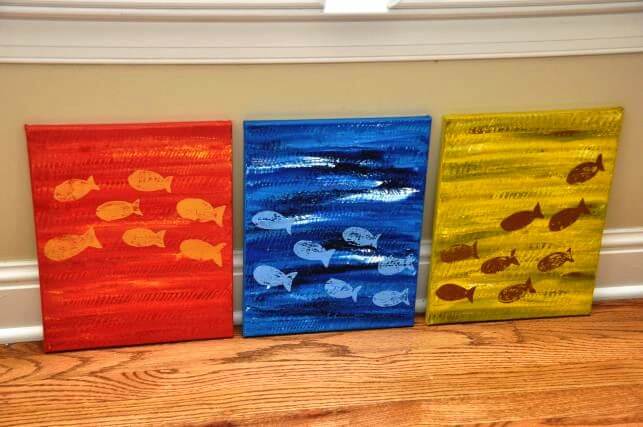
My sister painted the red, yellow, and blue canvases below. You don't have to cut out the same shape so many times, but she did just to see how they would look.
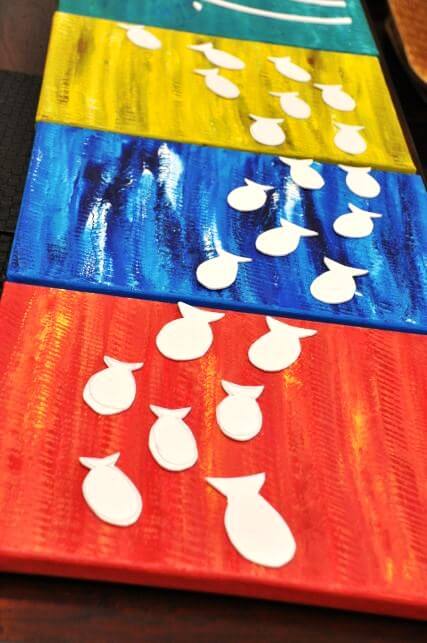
Paint the back of the foam cut-out, then quickly stamp them onto the canvas. You will want to slather on a lot of paint if you want it to have a more filled in look and less for the opposite.
This is how her fish paintings turned out. Good job, Carrie!
Below are the foam cut-outs I made.
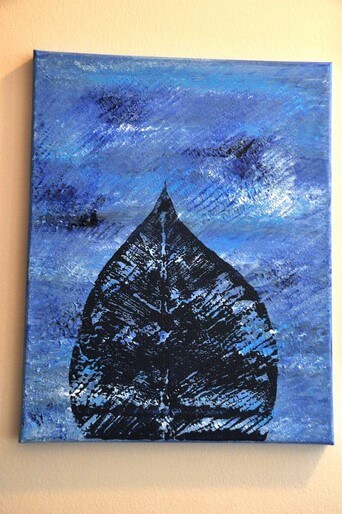
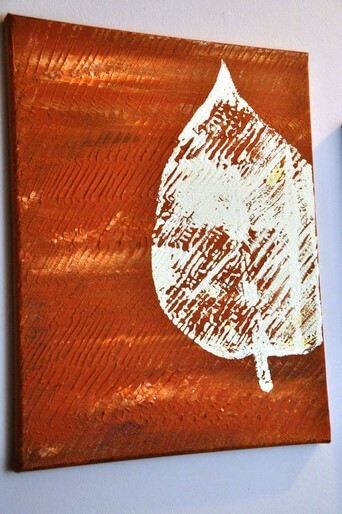
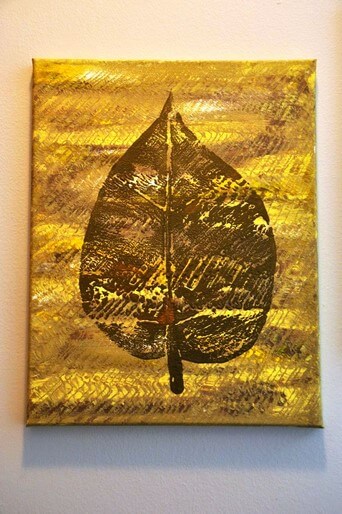
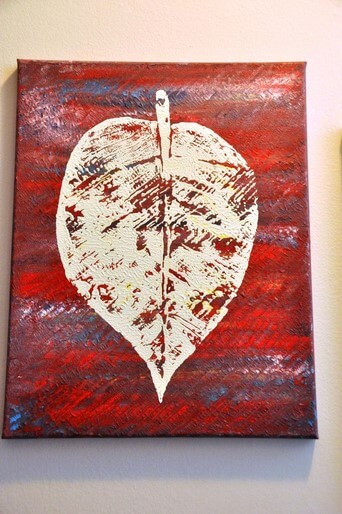
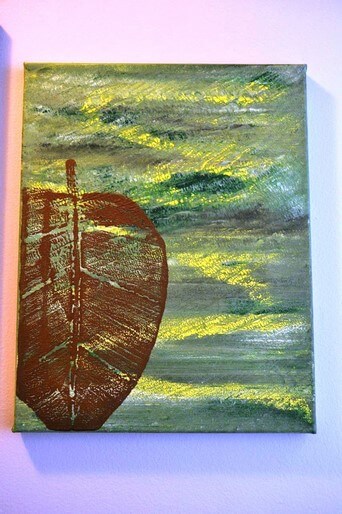
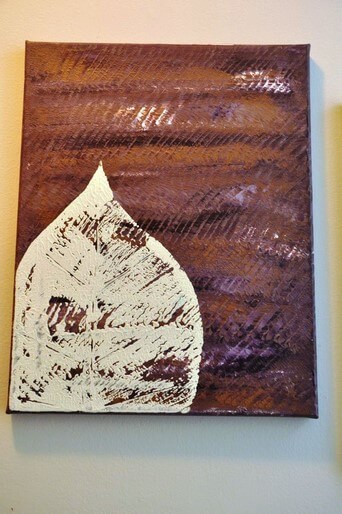
This is what my paintings looked like after I stamped them.
I asked my dad, mom, sister, and husband what they thought of the dandelions. They all said the same thing..."they kind of look like palm trees." Yes, I agree. They did look like palm trees. Dangit.
I decided to go against the "foam painting rules" and use a brush to make them look better.
This is how they turned out. ...a little snow flake-like, but much better!

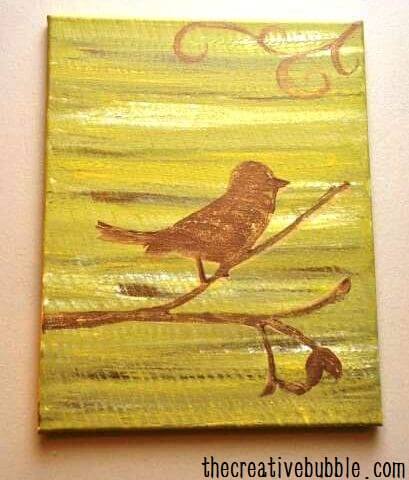
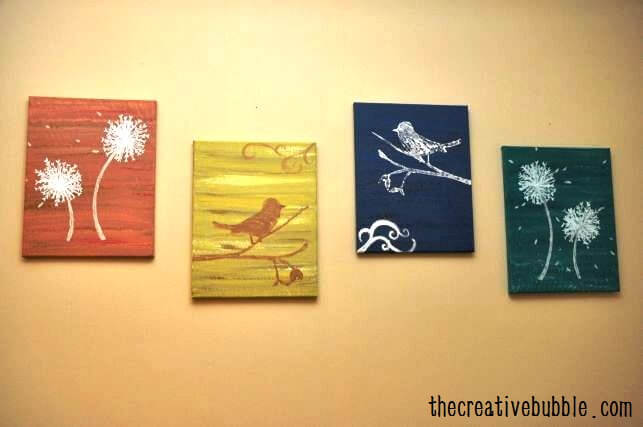
...and the birds...
Well, I was told they needed a little more, so I added some swirly designs on the corners.
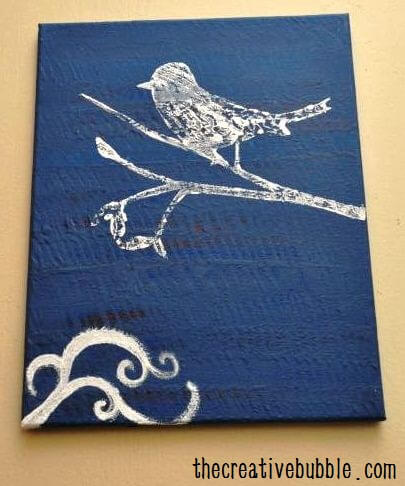
I wish that I had not painted the white so boldly to match the light look of the bird on the blue canvas, but I can live with it.
We hung them on our bedroom wall. Our room is coming together piece by piece.
I would love to see what designs and colors you come up with if you try this!